This post may contain affiliate links. Read disclosure policy
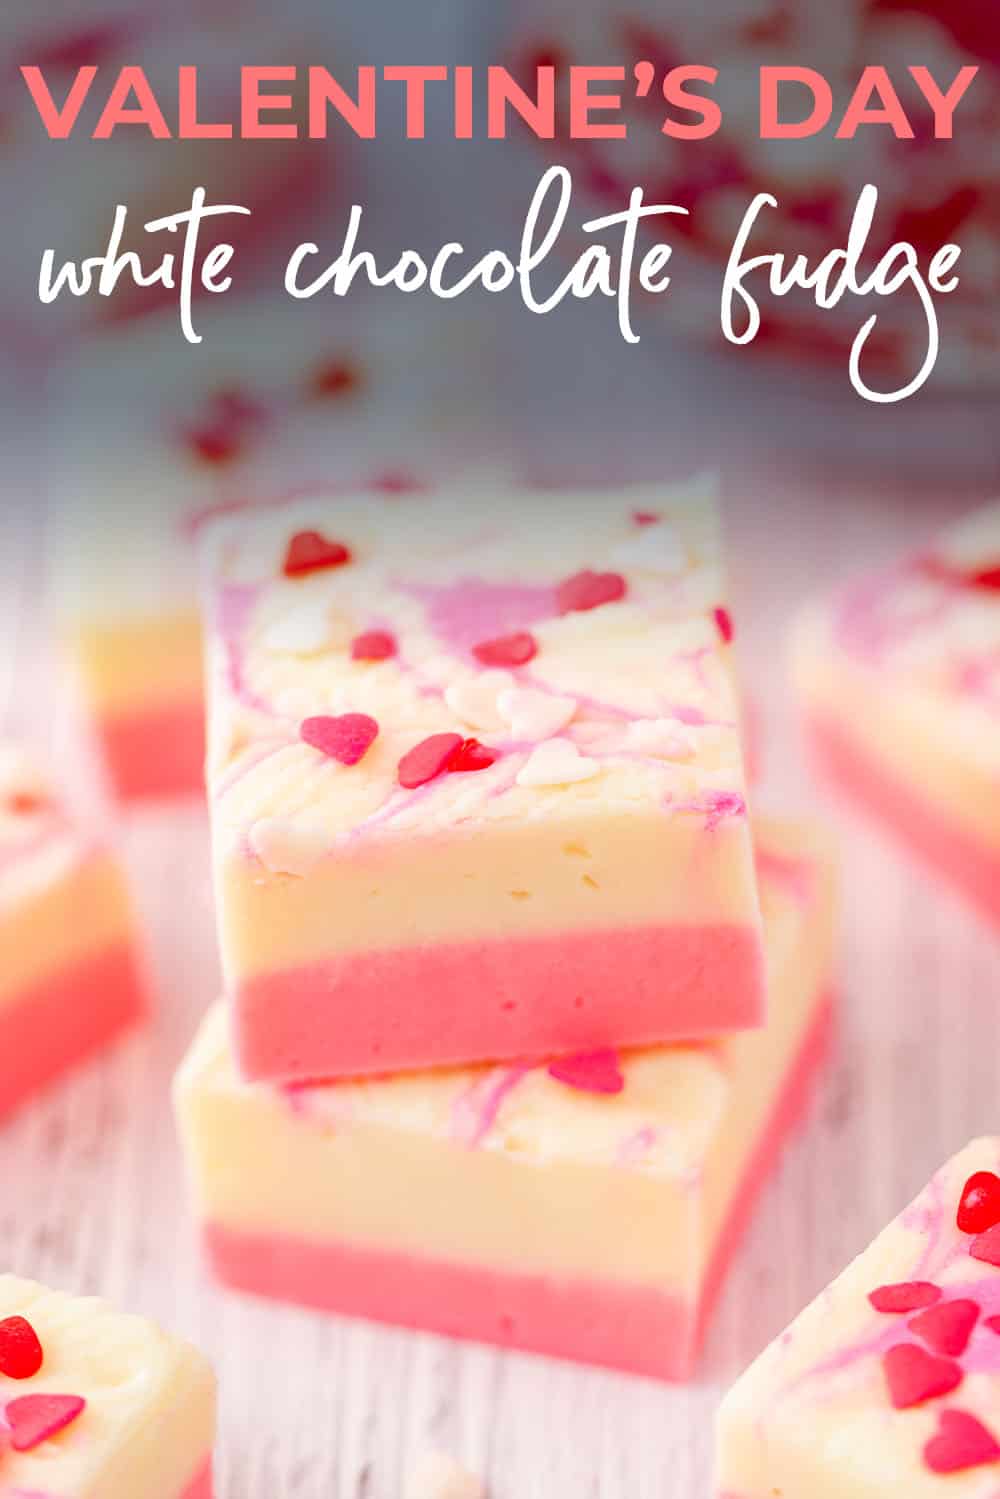
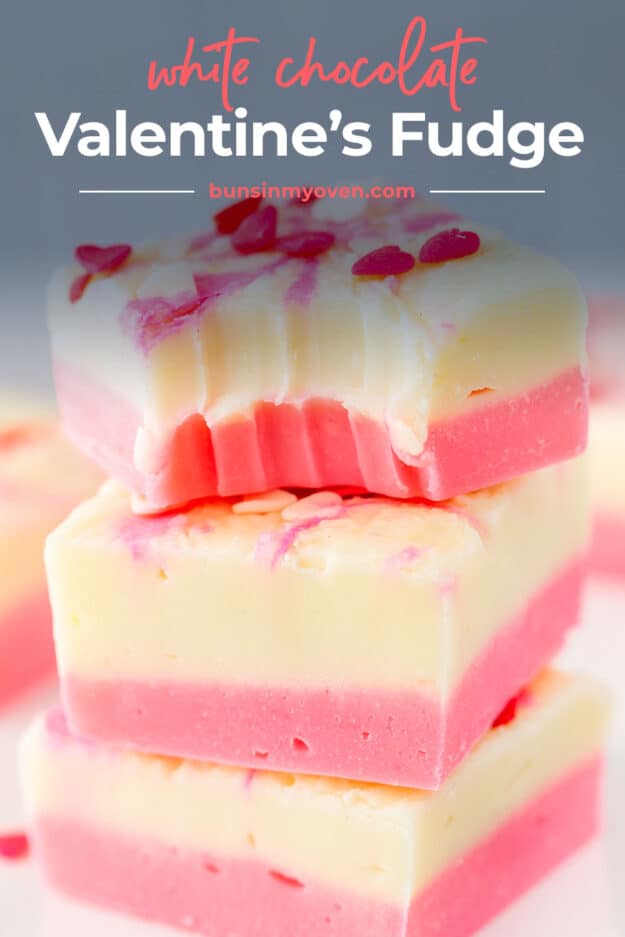
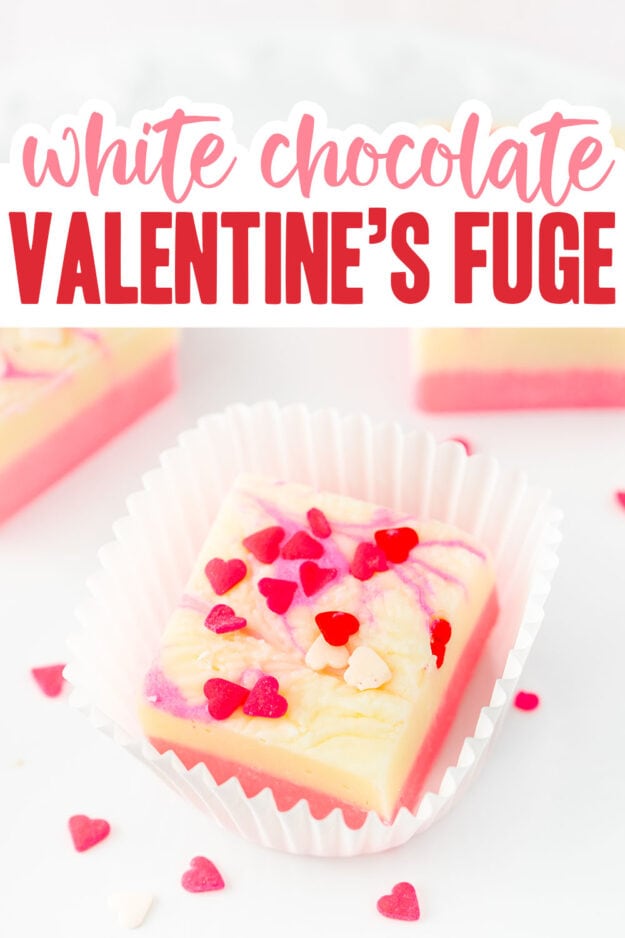
This White Chocolate Fudge recipe is decorated for Valentine’s Day with swirls of pink and heart sprinkles, but you could easily adapt it for any holiday or event! This homemade fudge is easy to make in the microwave, turns out so creamy, and is a fun treat to share with friends.
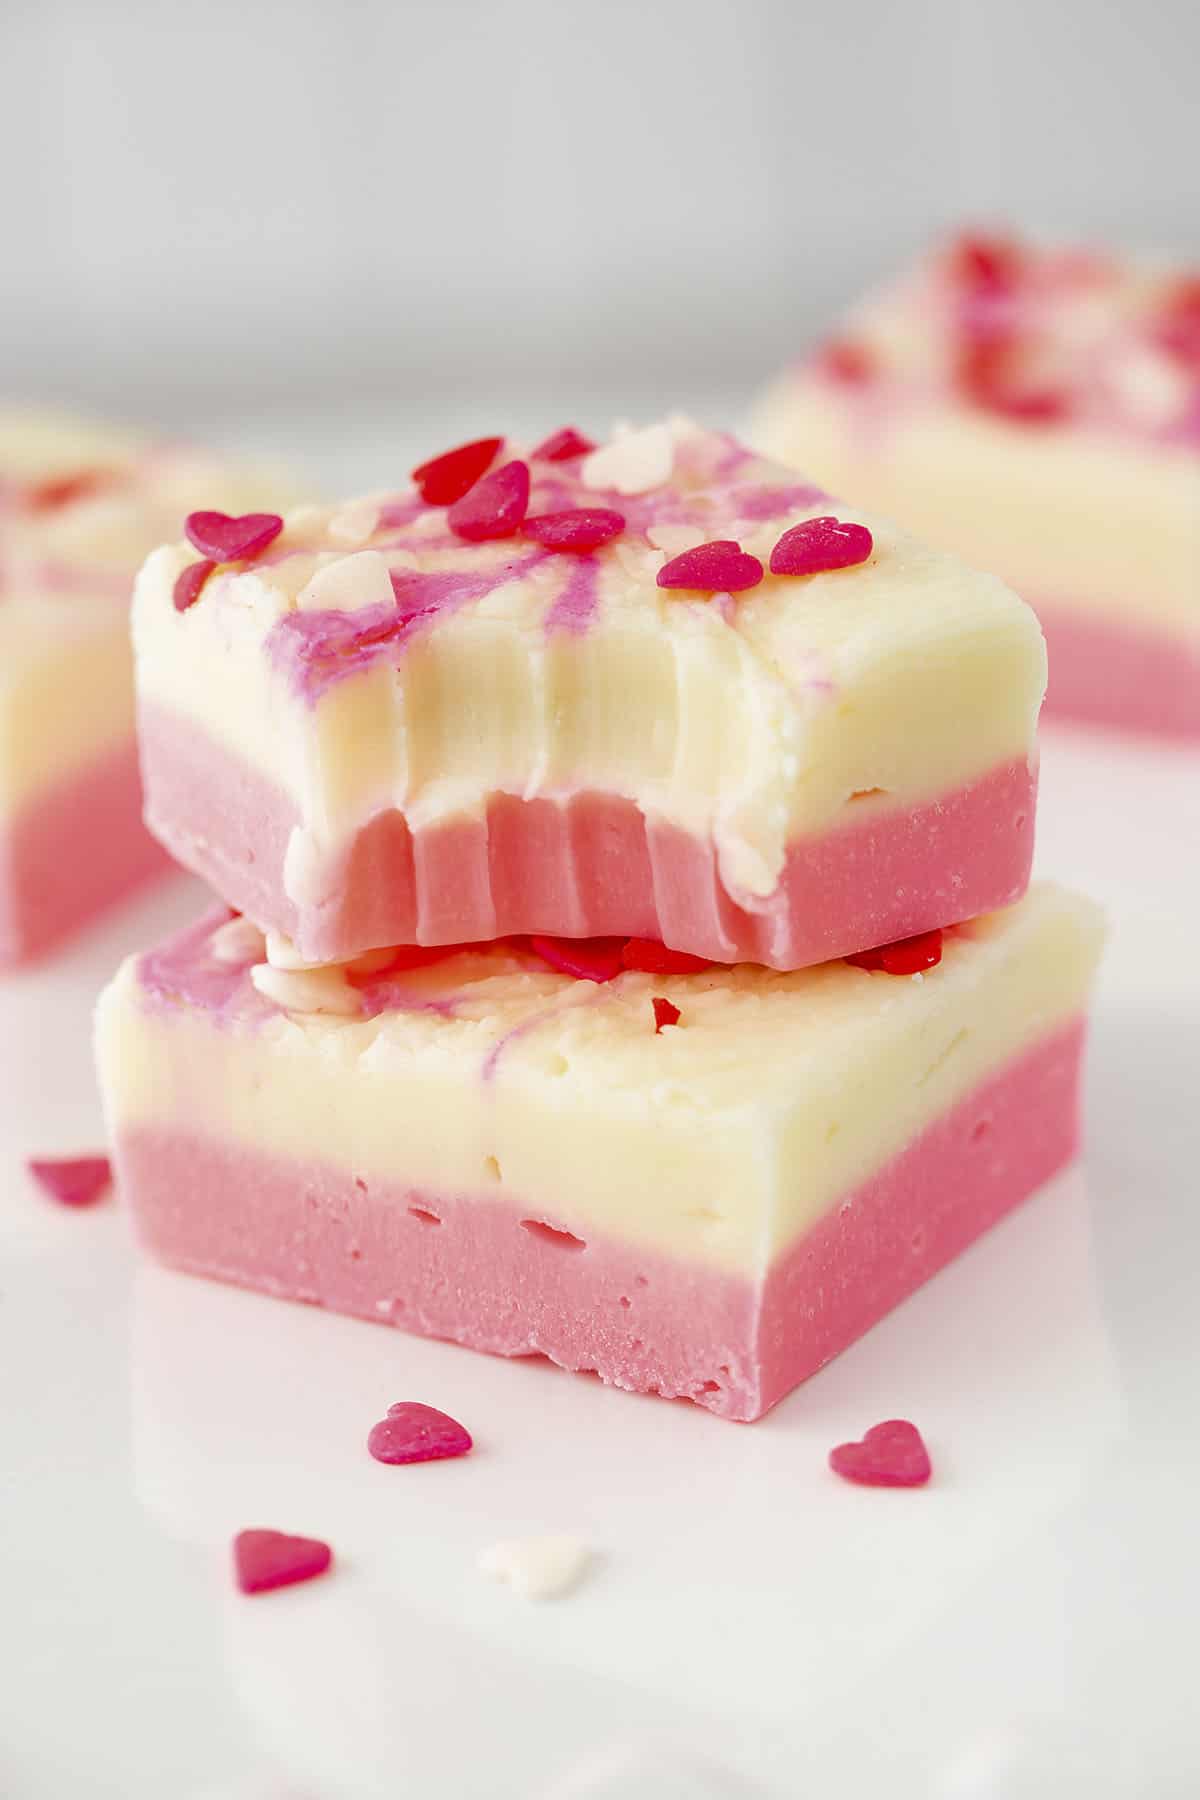
Is there anyone who doesn’t enjoy rich, soft, and creamy homemade fudge? It’s kind of the perfect dessert. Easier to make than most people realize, and even easier to decorate for your favorite holiday.
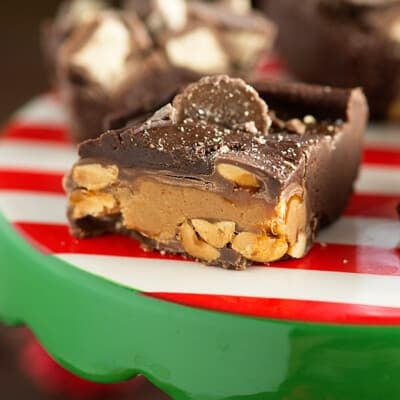
We often make it for Christmas (specifically our peanut butter fudge!) but this time I’m making white chocolate fudge and turning it pink and red for Valentine’s Day. Of course, you could totally skip the decoration and just make plain white chocolate fudge. Nothing wrong with that!
If fudge isn’t your first choice of treat, check out our Valentine’s Brownies and Valentine’s Day Cookies.
Holiday Fudge:
For the Valentine’s decorations I’m using food coloring, gel icing, and heart-shaped sprinkles. These are simple ways to decorate the fudge and the best part is they aren’t exclusive to Valentine’s Day!
You could just as easily use other colors and sprinkles, like red and green, to make this into a Christmas fudge.
Or just go all green for a St. Patrick’s Day theme! You can decorate this fudge however you choose for any holiday or event, and it is so easy to do!
Ingredient Notes:
This post contains affiliate links. As an Amazon associate and member of other qualifying programs, I earn from qualifying purchases.

White Chocolate Chips – I’d recommend using a good premium quality brand of white chocolate chips like Guittard or Ghirardelli. They’ll melt better than some of the cheaper brands which can be a bit grainy.
Sweetened Condensed Milk – It’s rich, creamy, and sweet, which makes it perfect for this white chocolate fudge recipe. Be sure to use sweetened condensed milk and not evaporated milk – both come in a can, but they’re two different products.
Butter – We normally use salted butter in all of our recipes, but for the best results you’ll want unsalted butter here.
Decoration – I’m decorating this white chocolate fudge for Valentine’s Day but you could switch it up for any holiday or just leave it white. You’ll need pink or red food coloring, pink or red gel icing, and heart-shaped sprinkles!
What We Love About This WHITE CHOCOLATE FUDGE Recipe:
- Texture: The white chocolate fudge is perfectly creamy and smooth with a velvety texture that melts in your mouth! It’s a rich, decadent treat.
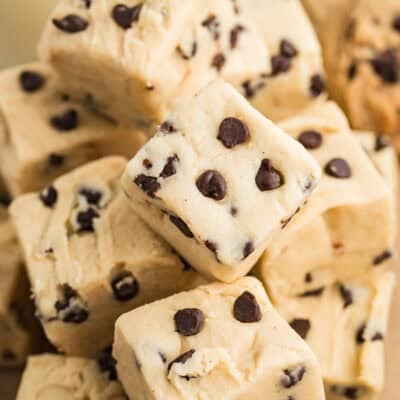
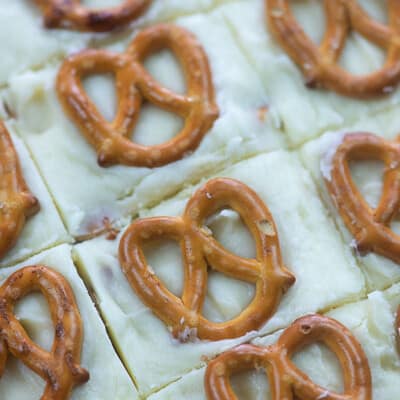
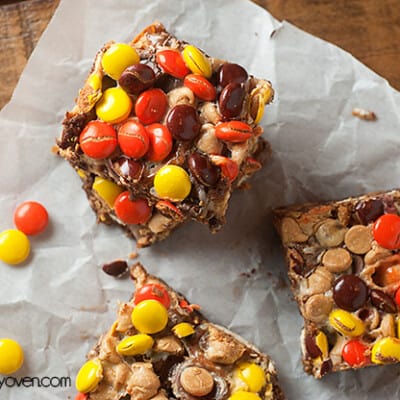
- Customizable: You can easily switch up the decorations or top it with pretzels, M&M candies, nuts, or any other fudge toppings or mix ins!
- Easy: Fudge seems like such a complicated candy to make, but our microwave fudge is actually quite easy and produces a creamy, rich result that you can’t beat!
How to Make White Chocolate Fudge:
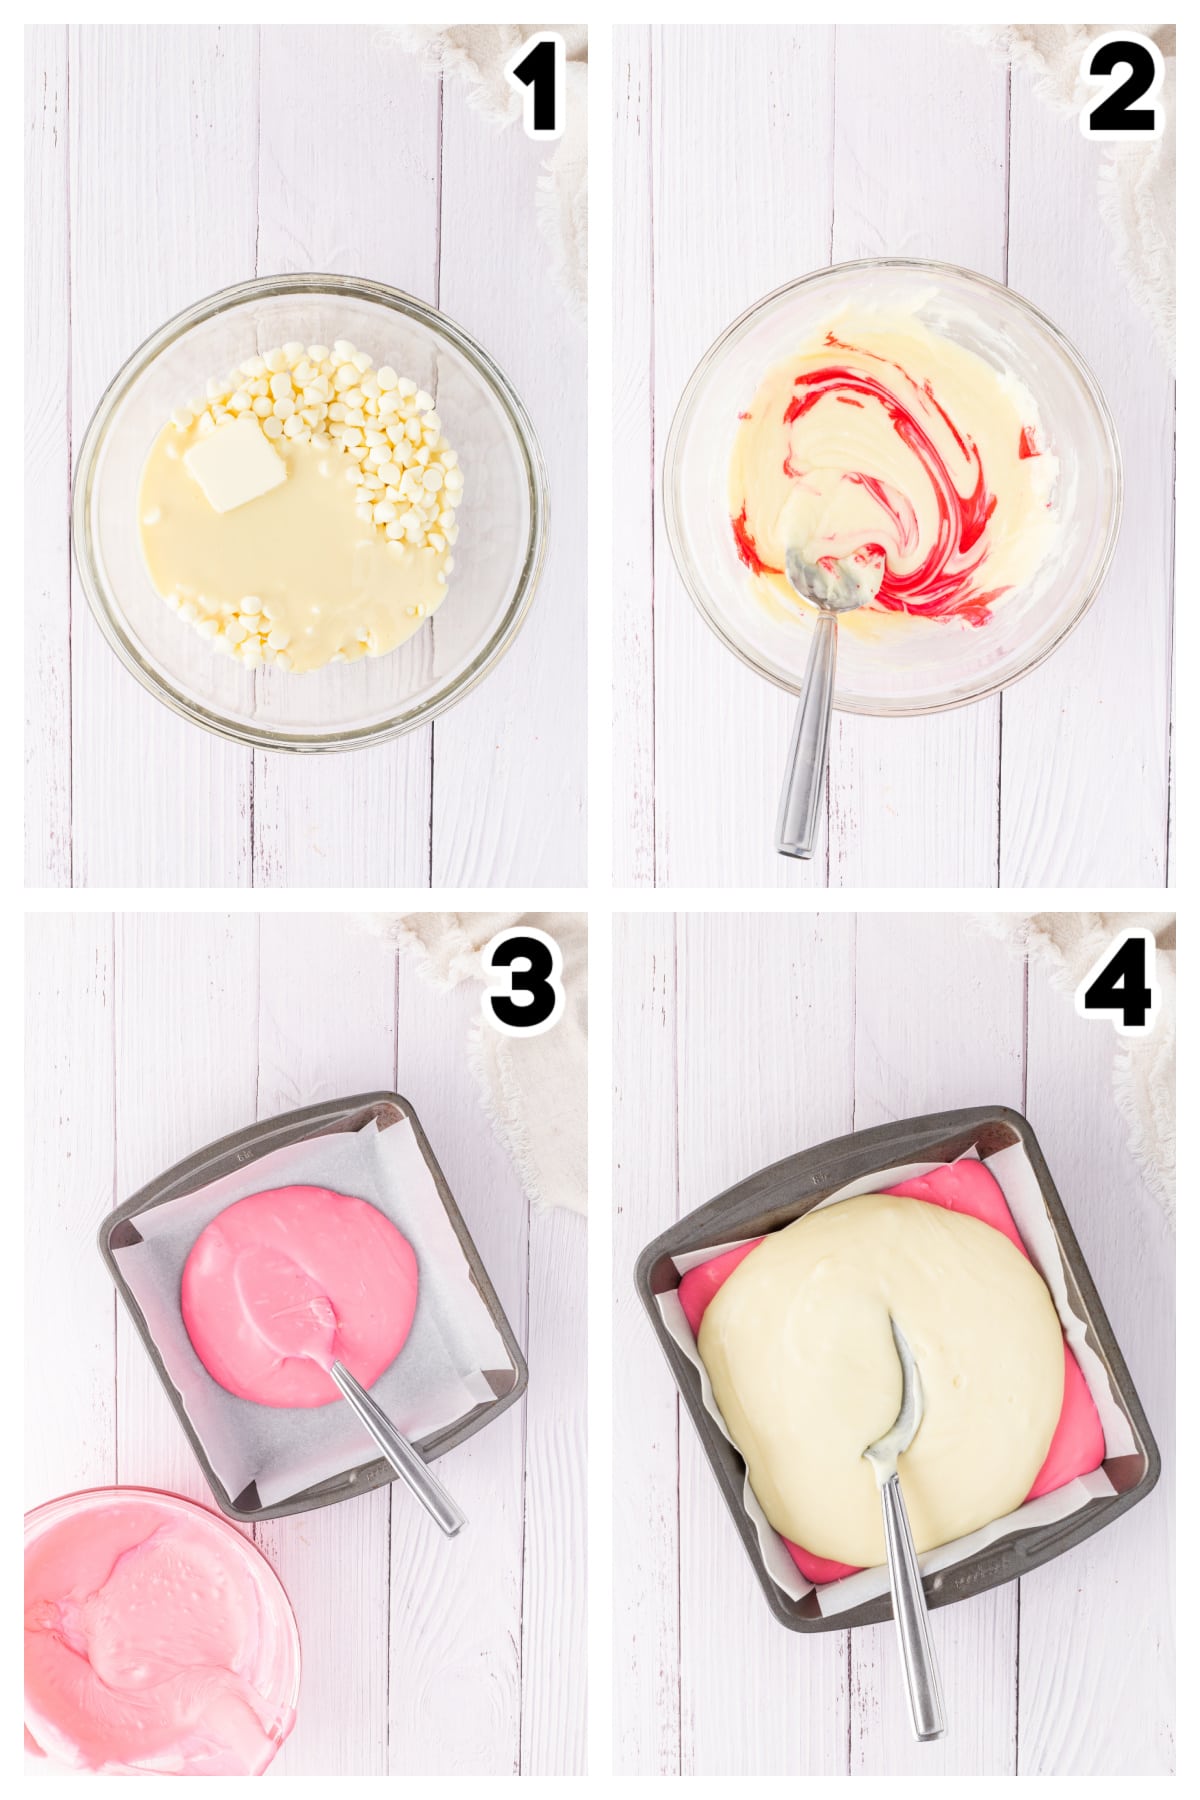
Melt: You’ll start by melting half of the white chocolate chips. Place them in a microwave safe bowl along with half the sweetened condensed milk and half of the butter.
Microwave in 20 seconds bursts, stirring each time, until the chocolate has fully melted. This shouldn’t take more than a couple of minutes. Make sure you do not overcook or burn the chocolate!
Helpful TipS!
- If you aren’t planning to decorate the fudge with food coloring or will only be using sprinkles you can melt and combine all the ingredients at once instead of doing half at once for the different colors.
- It’s important to not overcook the white chocolate or it may be grainy instead of smooth when melting. Some cheaper brands of white chocolate can also be grainy so use the good stuff!
Color: After melting the white chocolate in the microwave add 8 drops of the pink or red food coloring and stir it in until it is well combined and smooth.
Chill: Pour the pink/red fudge mixture into a parchment or foil lined and greased 8×8 square pan. Smooth the top with a spoon or offset spatula and then place the pan into the freezer while you prepare the other layer.
Repeat: Repeat the steps to melt the remainder of the white chocolate and mix it together with the sweetened condensed milk. You won’t need any food coloring for this layer.
Decorate: Pour the top white layer of fudge over the pink/red fudge layer and gently smooth it with a spoon or offset spatula.
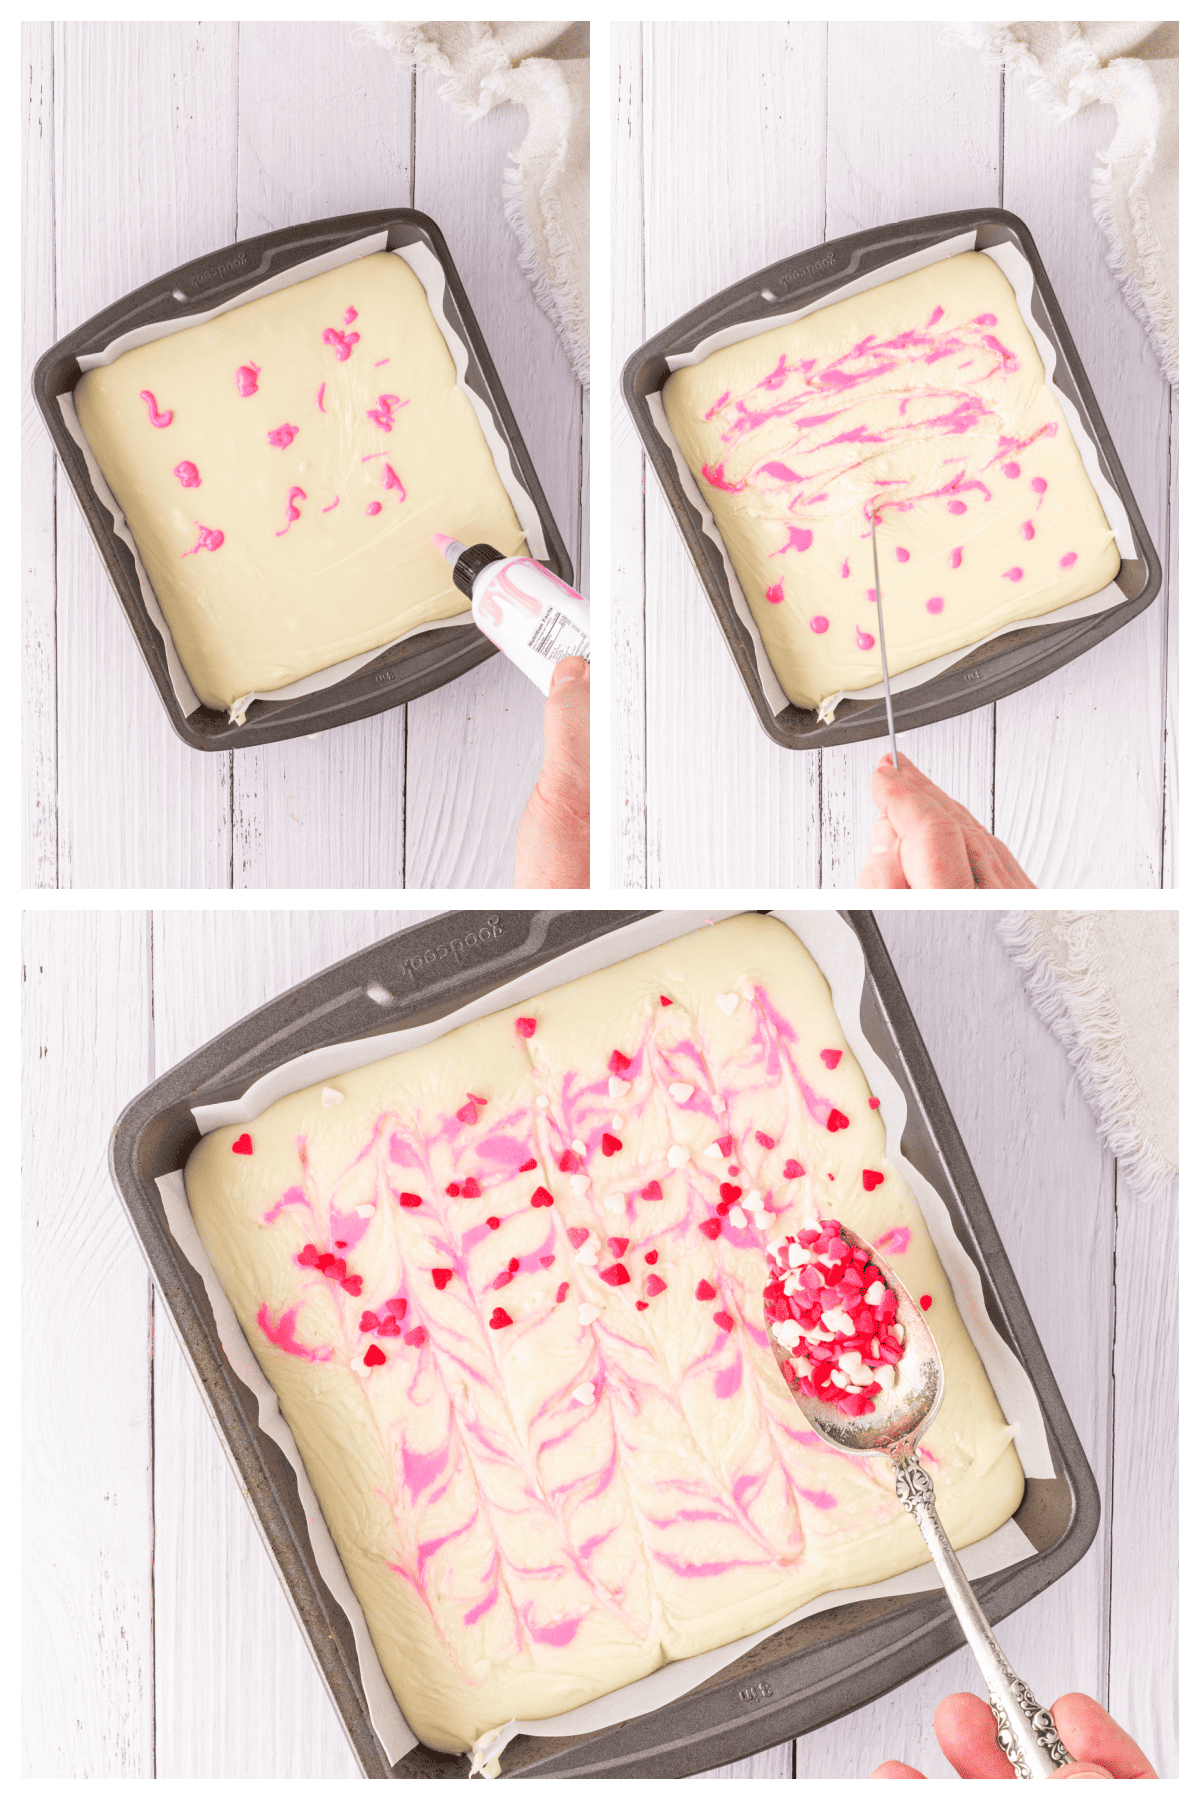
Add a few drops of pink or red gel icing to the top of the fudge and use a toothpick to swirl it into the white chocolate layer, making swirls along the top of the fudge.
Finally, add some heart shaped sprinkles to the top to finish decorating!
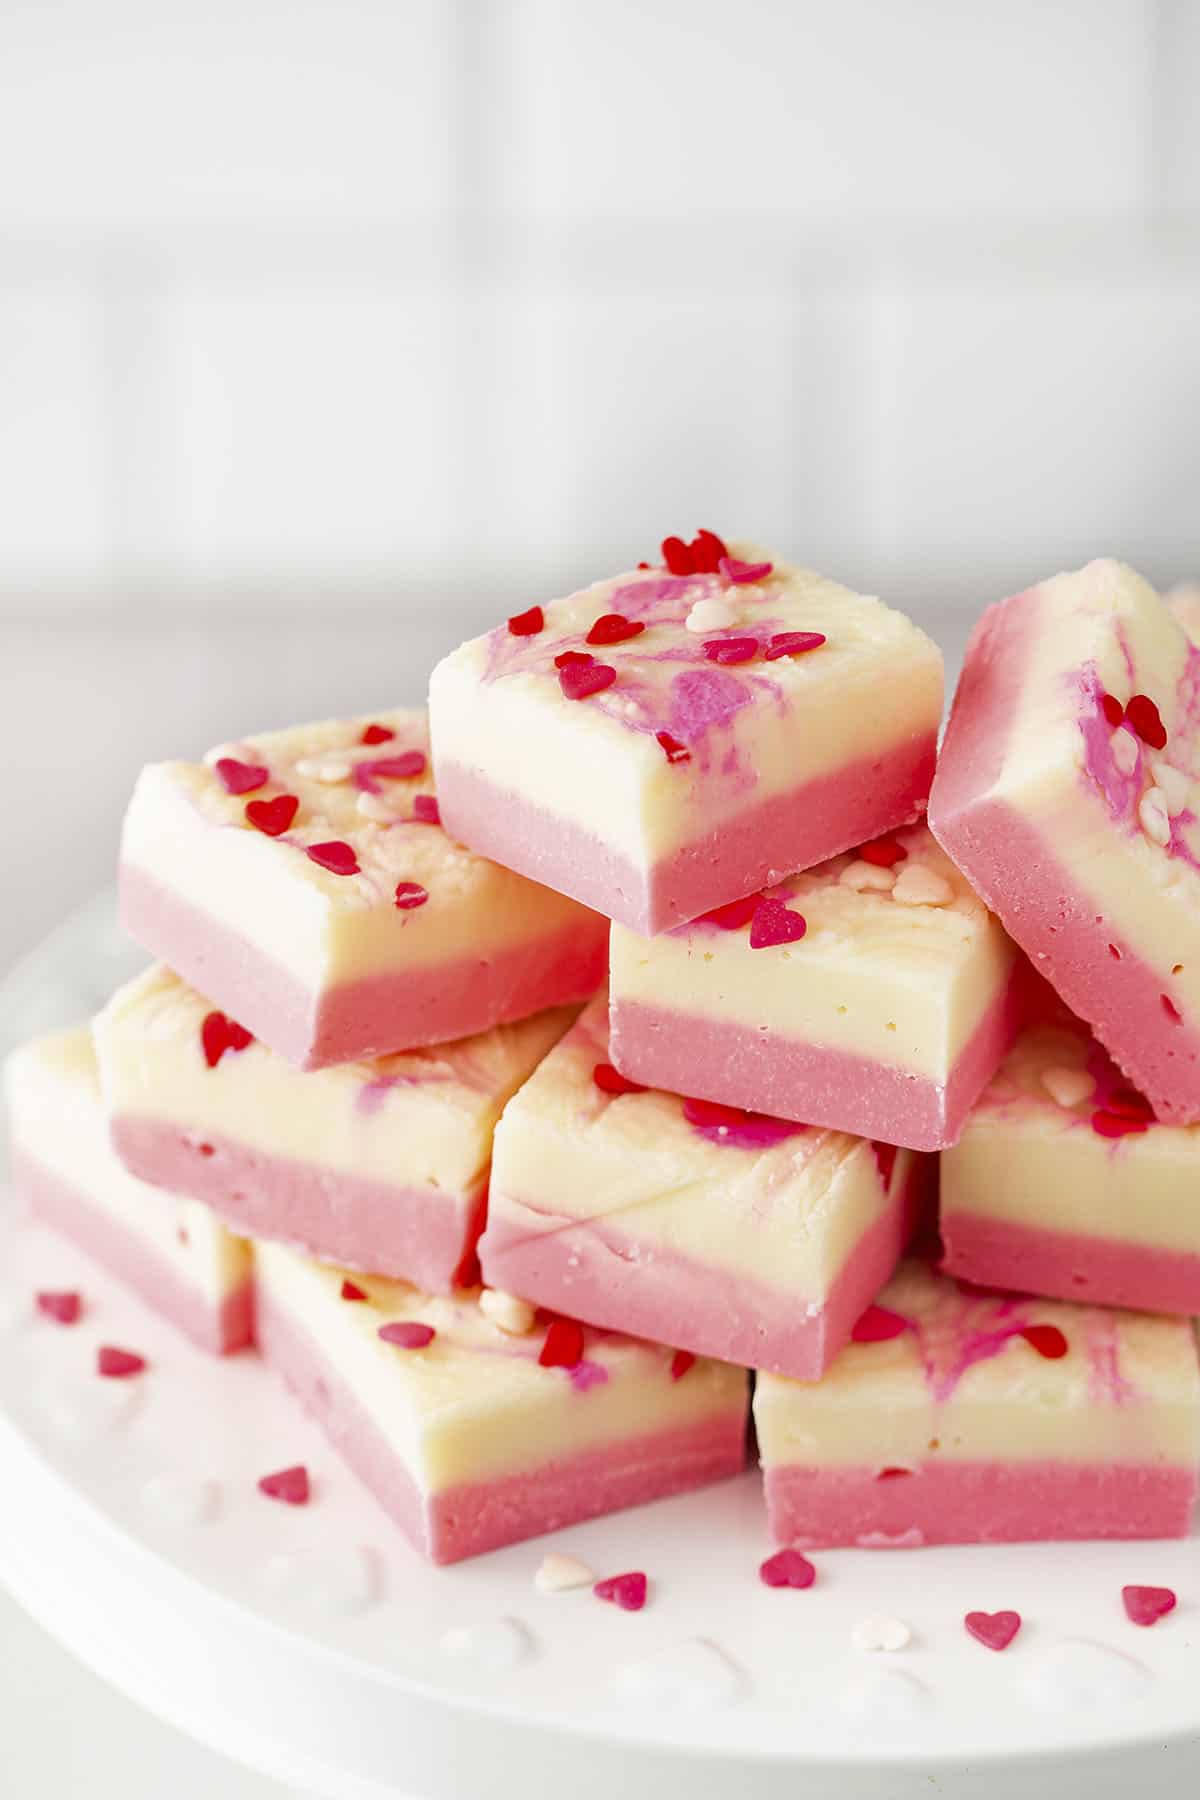
Chill: To finish preparing the fudge cover it well with plastic wrap and refrigerate it for at least 2 hours before removing it from the pan and slicing into smaller pieces for serving.
MORE HOMEMADE FUDGE RECIPES!
FAQ’s:
You can keep this fudge stored at room temperature in an airtight container for about a week. It will last longer in the fridge, about 2 to 3 weeks.
This fudge can be frozen for about 2 to 3 months but the texture may be altered somewhat when freezing. White chocolate fudge doesn’t freeze as well as a dark chocolate fudge would.
MORE VALENTINE’S DAY RECIPES!
White Chocolate Fudge
Ingredients
- 3 1/2 cups white chocolate chips divided
- 14 ounces canned sweetened condensed milk divided
- 2 tablespoons unsalted butter divided
- Pink or Red Food Coloring
- Pink or Red Gel Icing
- 1 tablespoon heart-shaped sprinkles
Instructions
- Prepare an 8×8 square pan by lining it with parchment paper or foil that’s been spray with non-stick spray.
- Add half of the white chocolate chips to a microwave safe bowl along with half of the sweetened condensed milk and half of the butter.
- Microwave in 20 second bursts, stirring each time, until the chocolate is melted. This should take less than 2 minutes. Do not overcook.
- Add 8 drops of food coloring and stir until combined and smooth.
- Pour the fudge mixture into the prepared pan and smooth the top with a spoon or offset spatula. Place in the freezer while you work on the next layer.
- Add the remaining white chocolate chips, sweetened condensed milk, and butter to a microwave safe bowl.
- Microwave in 20 second bursts, stirring each time, until the chocolate is melted.
- Stir well until smooth.
- Pour the white fudge over the pink fudge and gently smooth the top with a spoon or offset spatula.
- Add a few drops of pink or red gel icing on top of the fudge, placing them evenly around the top. Use a toothpick to swirl it into the white chocolate, making pretty swirls along the top.
- Shake the sprinkles over the top evenly.
- Cover with plastic wrap and refrigerate for at least 2 hours before removing from the pan, slicing into 16 pieces, and serving.












Leave a Review