This post may contain affiliate links. Read disclosure policy
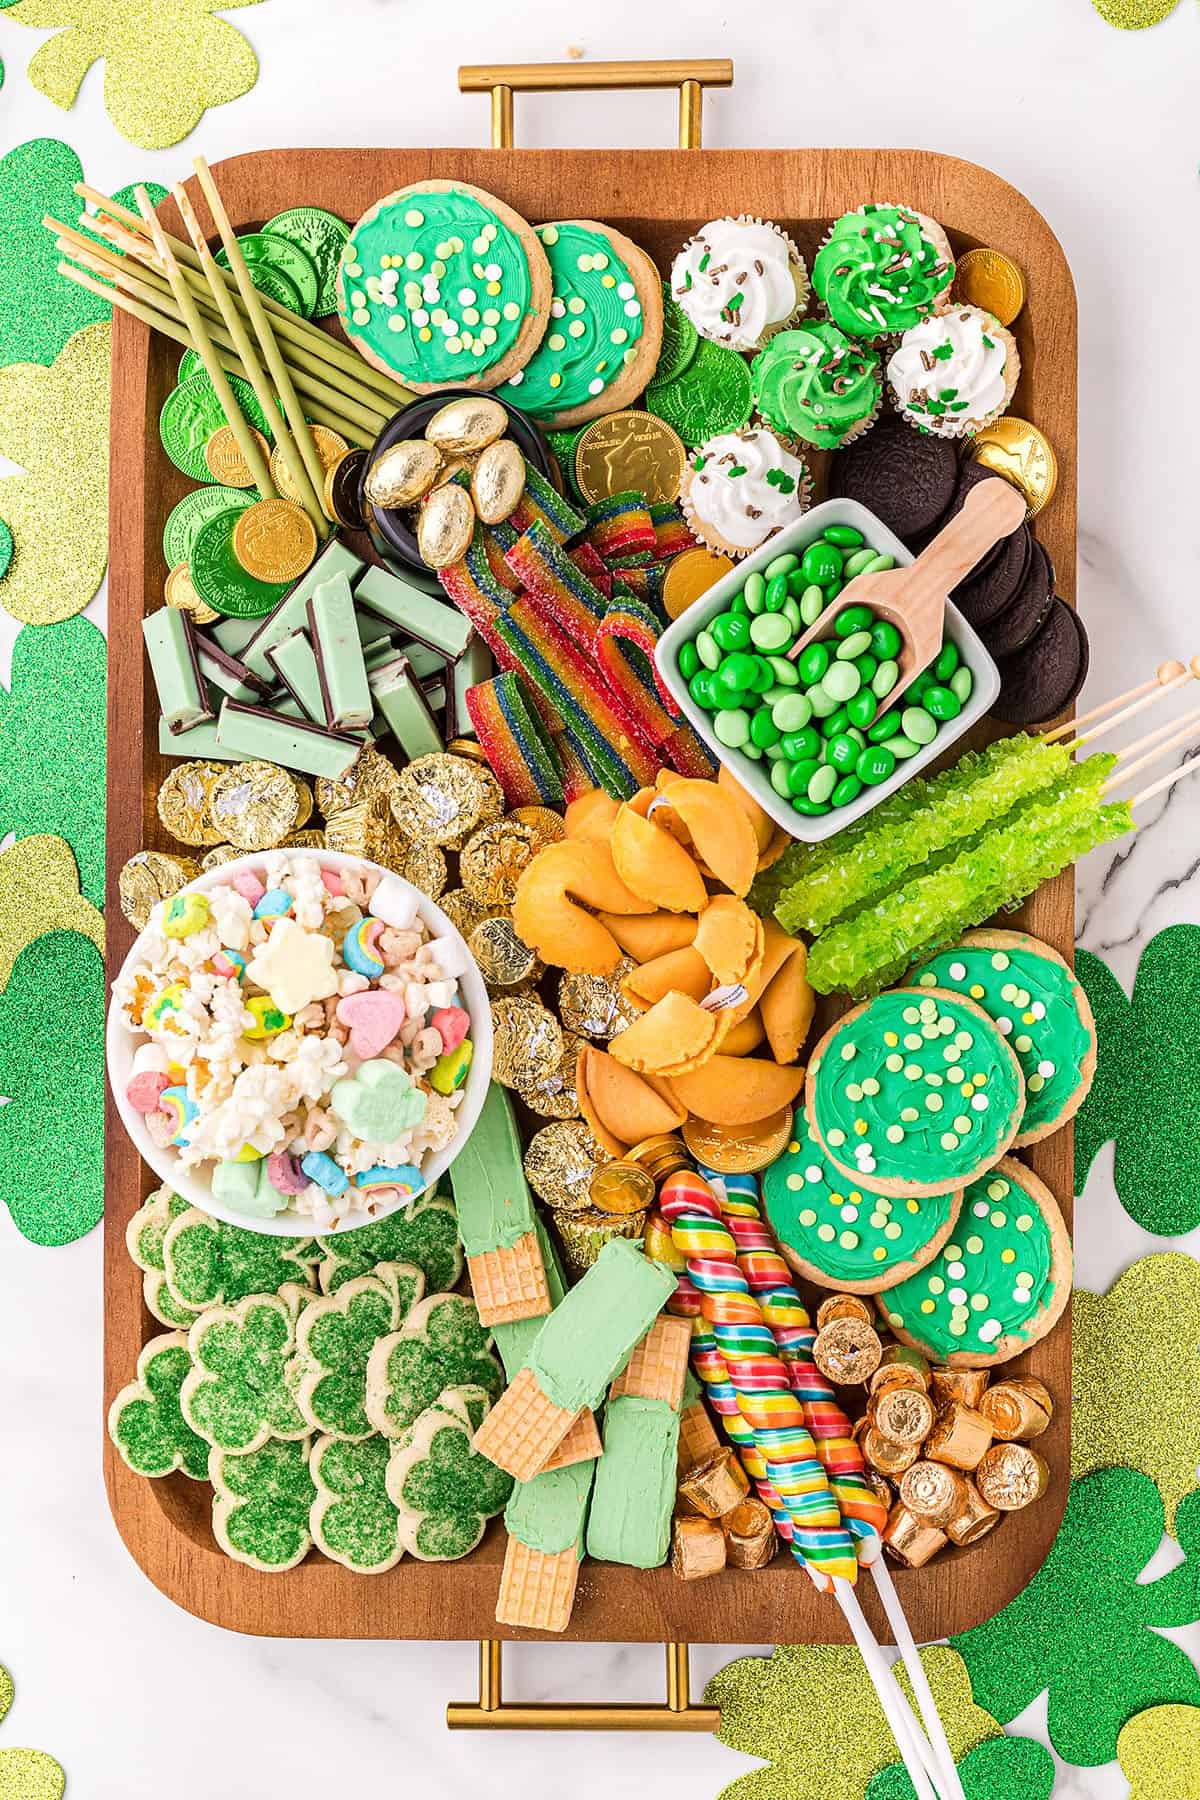
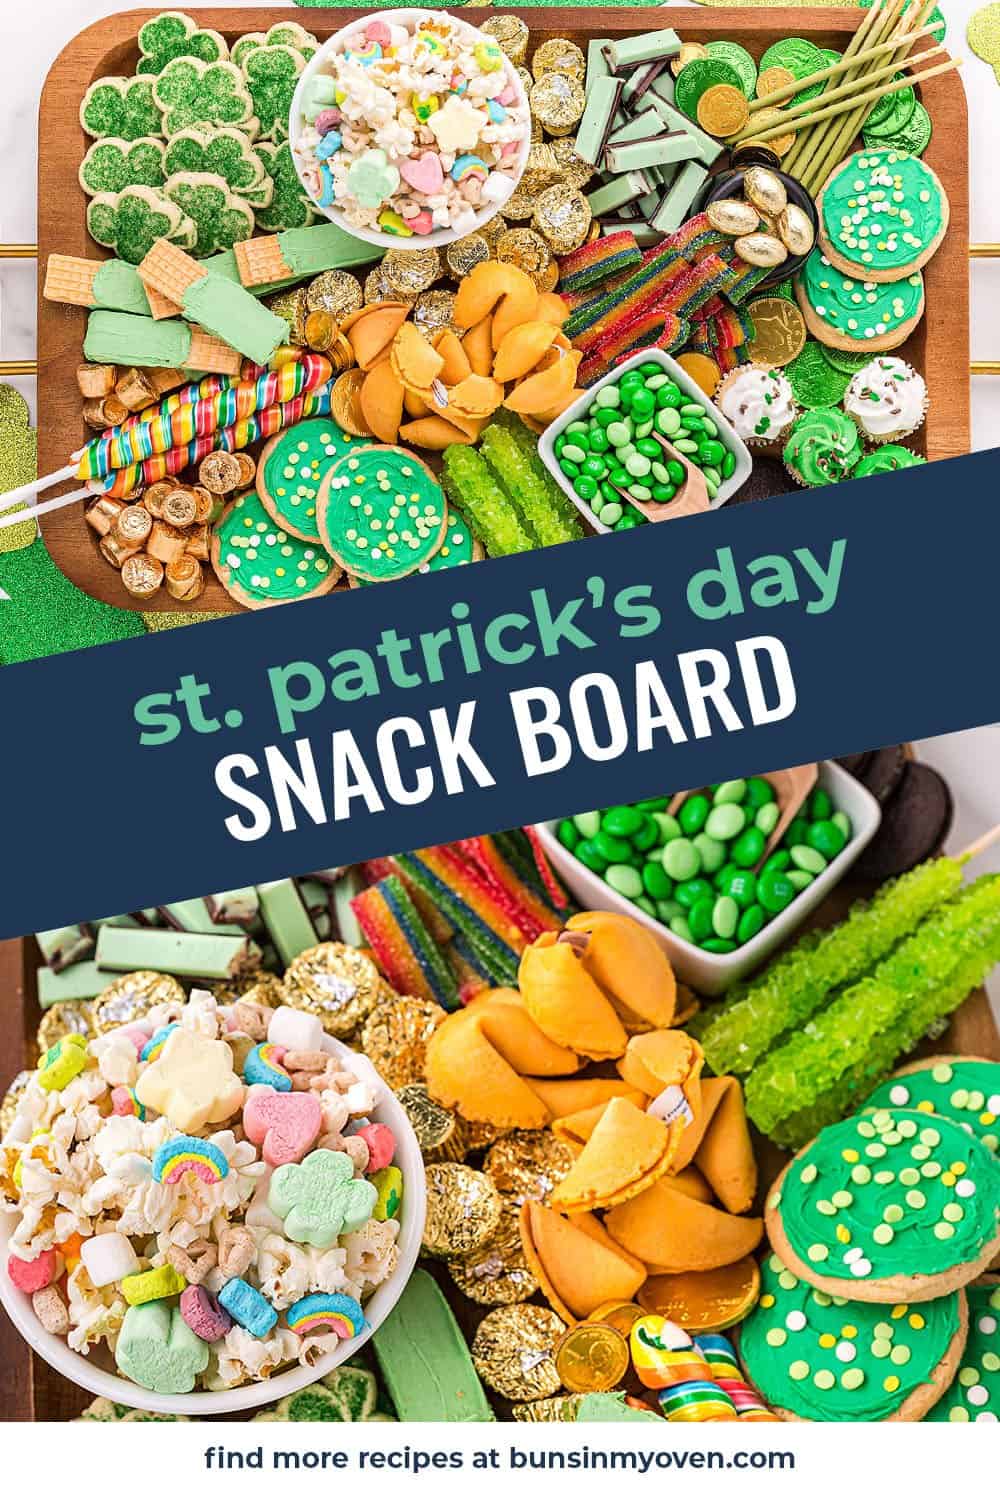
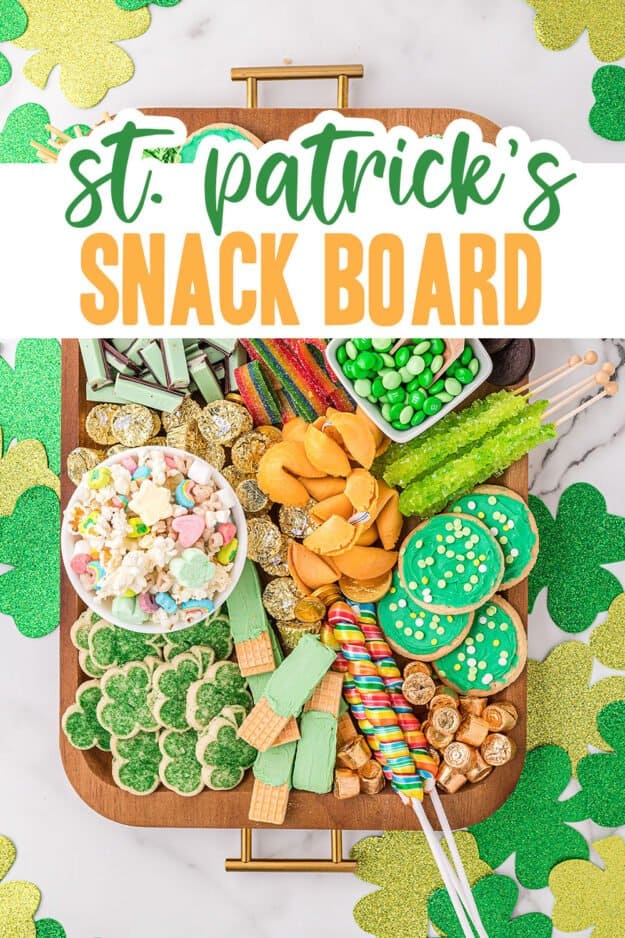
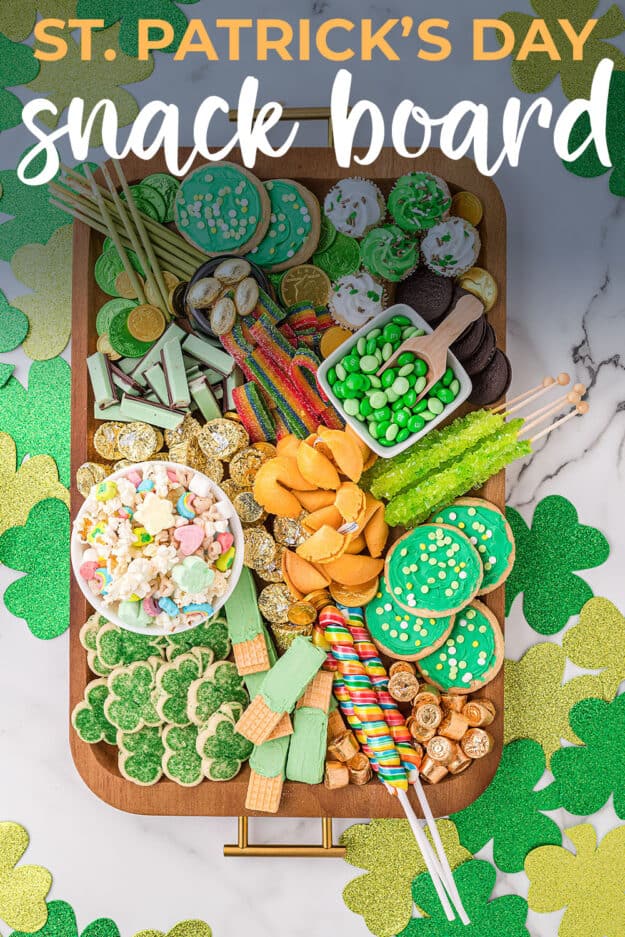
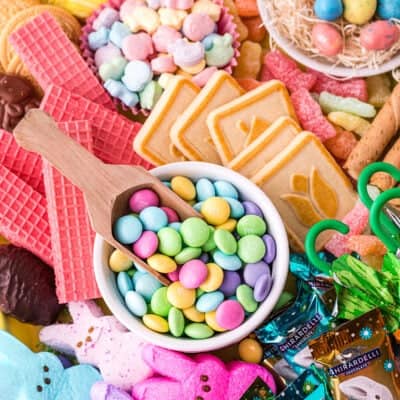
This St. Patrick’s Day snack board is bursting with a huge variety of colorful candies, cookies, and treats that make St. Patrick’s Day fun for the whole family!
Most people think corned beef and cabbage or Irish soda bread when they think of celebrating St. Patrick’s Day, but I’m bringing the TREATS, you guys!
This St. Patrick’s Day themed snack board is absolutely bursting with green and gold goodies that will totally get your family excited.
We always start March 17th with a bowl of Lucky Charms (and we dye the milk green, obviously!), and this year we’re going to end it with an over top snack board. My kids are going to be so excited!
This is so easy to put together and suuuuuuper simple to customize. Let’s walk through all the details…
Ingredients Used:
This post contains affiliate links. As an Amazon associate and member of other qualifying programs, I earn from qualifying purchases.
If this seems like it is a lot of stuff… well, it is! You may need to do some shopping around if you want to build a St. Patrick’s Day snack board exactly like the one featured in this recipe.
Or you can just get creative and grab whatever green, gold, or rainbow goodies you can find at your local grocery store!
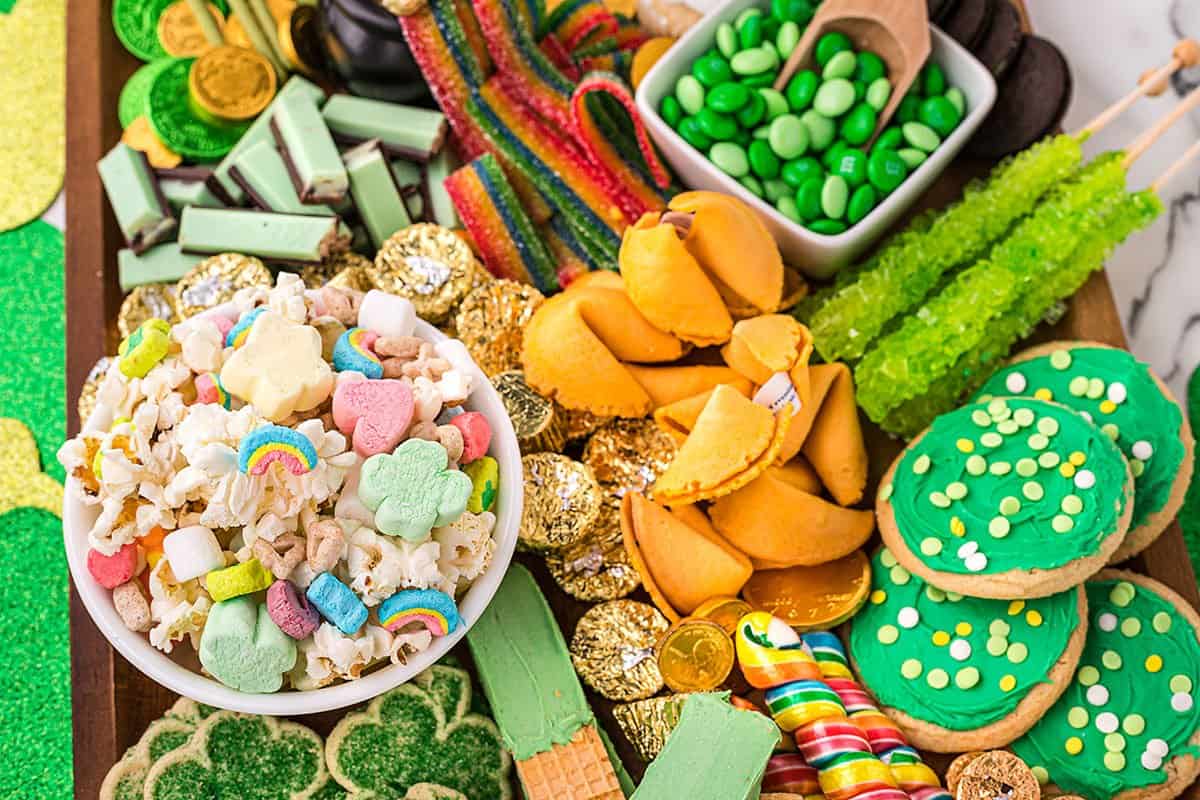
Lucky Charms Popcorn – Combine kettle corn with Lucky Charms cereal and then sprinkle around some extra Lucky Charms Marshmallows!
Rolo’s – We keep them wrapped, because hello -gold wrapper.
Reese’s Peanut Butter Cups – Again – gold wrapper.
Chocolate Coins – You know the chocolate coins with the foil wrappers that look like fake gold? We’re using green and gold colored coins!
Airheads Xtreme Rainbow Berry Candy – The more colorful treats you have the better your snack board will look!
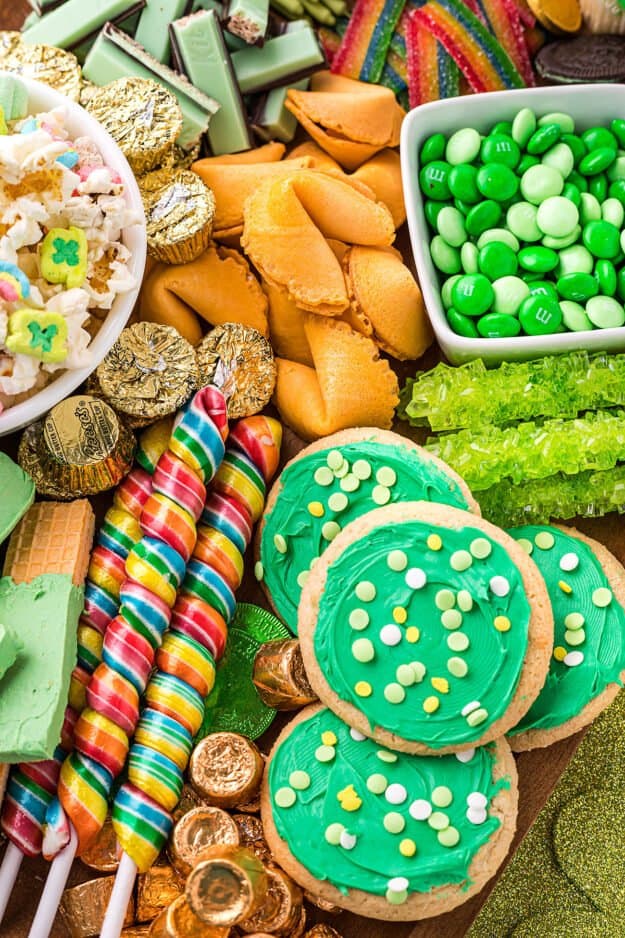
Green Frosted Sugar Cookies – Use store-bought or make your own!
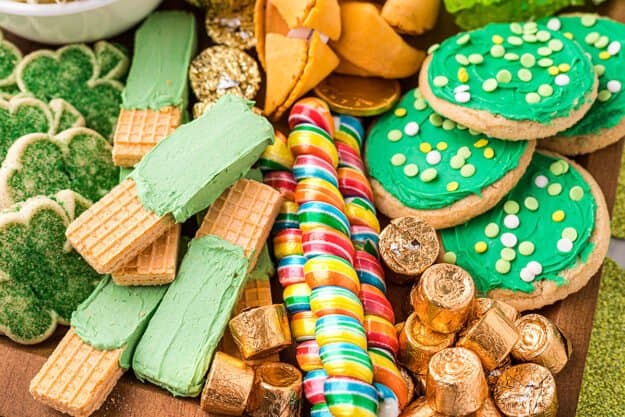
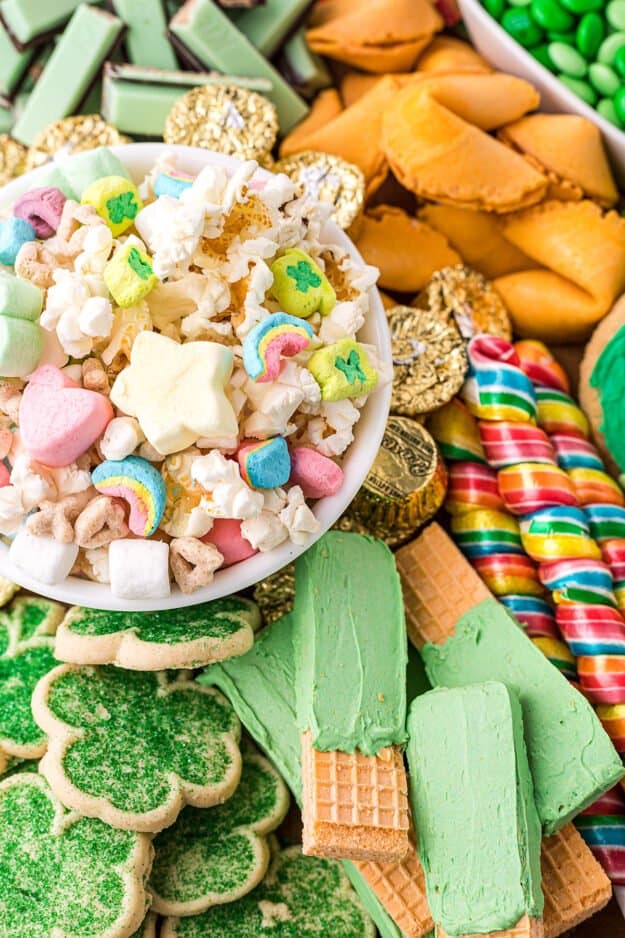
Vanilla Sugar Wafers – I’ve taken these standard vanilla sugar wafers to the next level by smearing them with a bit of green frosting. You could also dip them in green candy melts.
What We Love About This Snack Board!
Themed snack boards look like you spent hours on them, but they’re beyond simple to throw together! This board is so fun and colorful, the kids go absolutely nuts for it, and you can make it as large or as small as you like! It’ll definitely be the most impressive thing at your St. Patrick’s Day party!
Tools Needed:
Wooden Tray – You can find the exact same wooden tray that I used in this recipe by following the link. Of course, any tray will work!
See the tips and tricks section for more info on what type of tray to use!
Shamrock Cutouts – These are optional but they’ll certainly add to the festive theme. They’re just shamrock shaped cut outs with glitter but you can use them as decoration around the tray or on the table!
Decorative Bowls – It helps to have one or two St. Patrick’s Day themed bowls on the board that contain some of the treats, like the gold eggs or coins. Fill in the rest of the bowls with plain white, green, or gold bowls from your home.
Wooden Scoops – Small wooden scoops or cute spoons help dress up a board. I couldn’t find the exact scoop we used online, but most craft stores will sell them.
How to Make A Snack Board:
Arrange: Once you’ve got your pile of different candies and cookies and other snacks and treats ready to go, you can start assembling the snack board!
We always start by placing our bowls on the board first and filling them up. We’ll fill in around the bowls after.
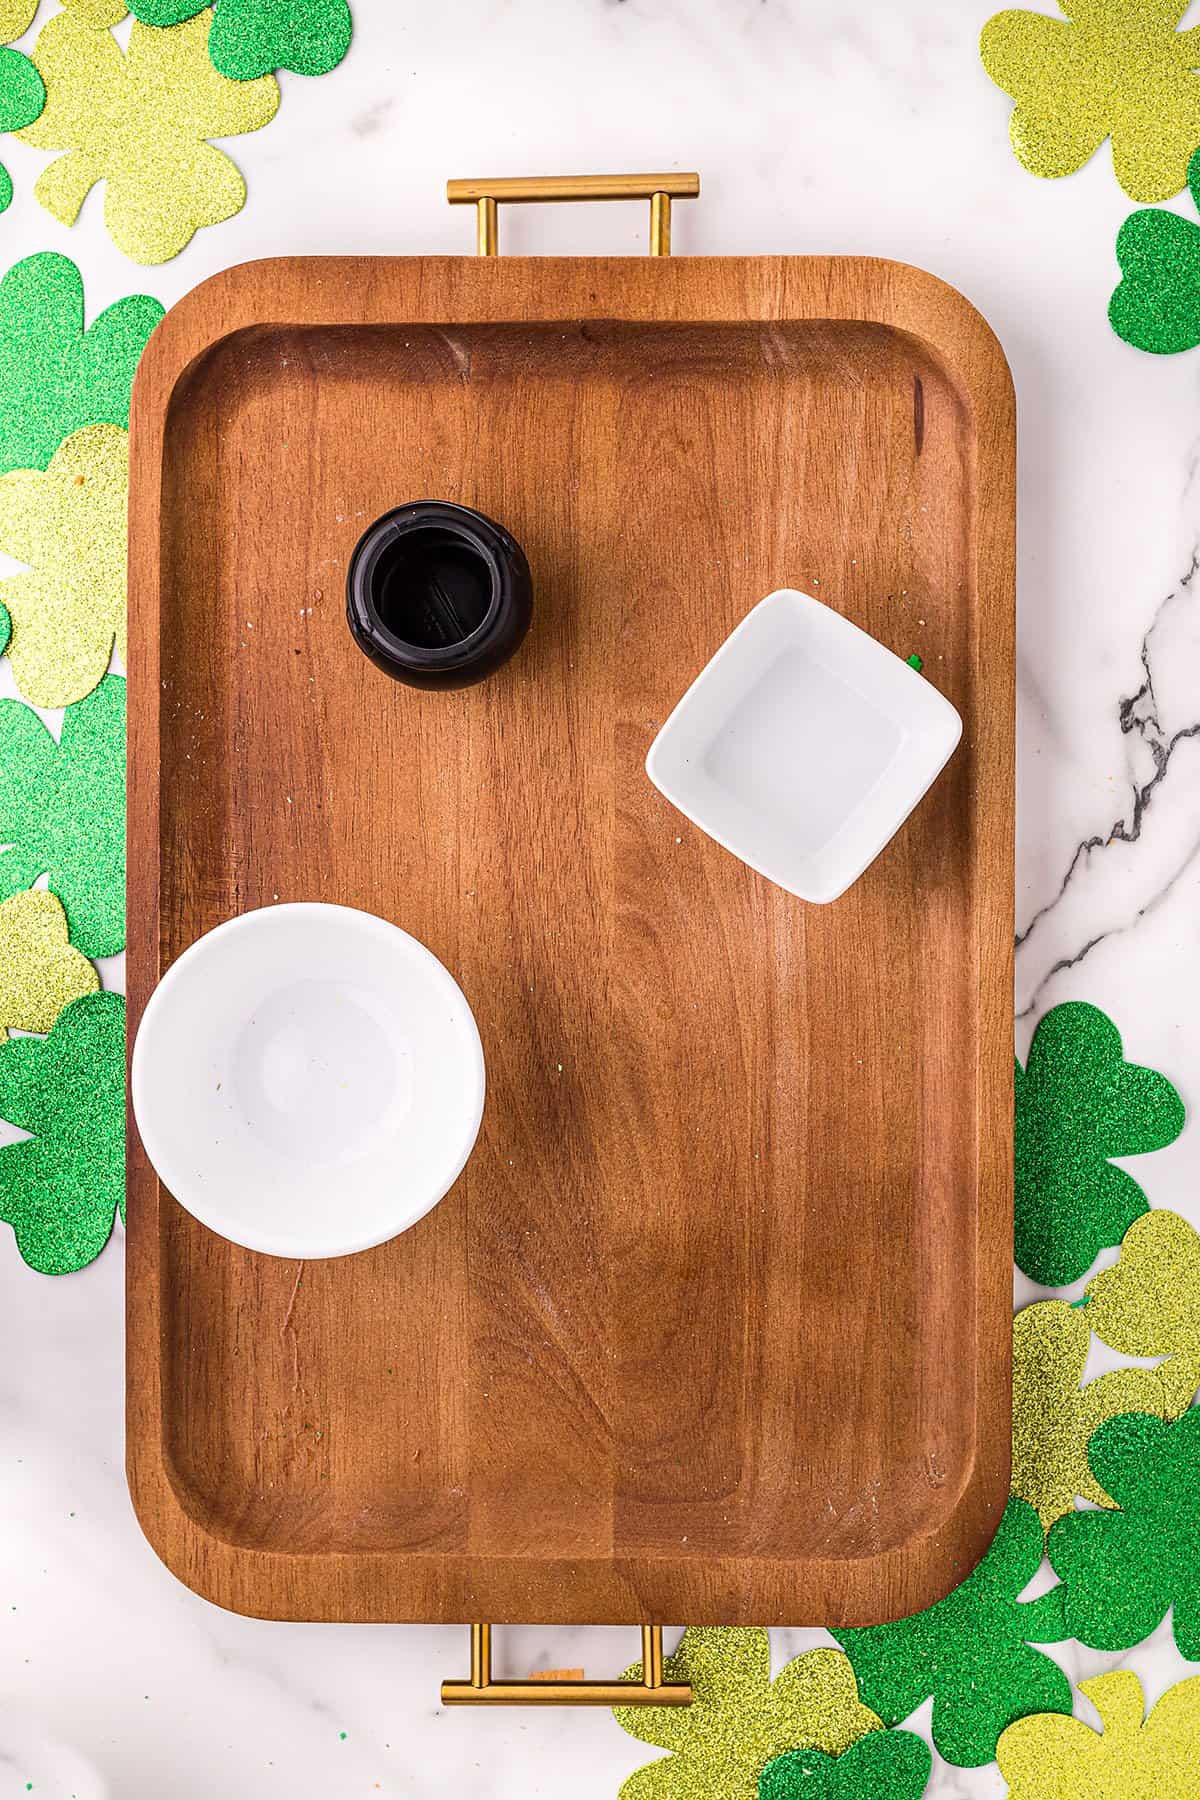
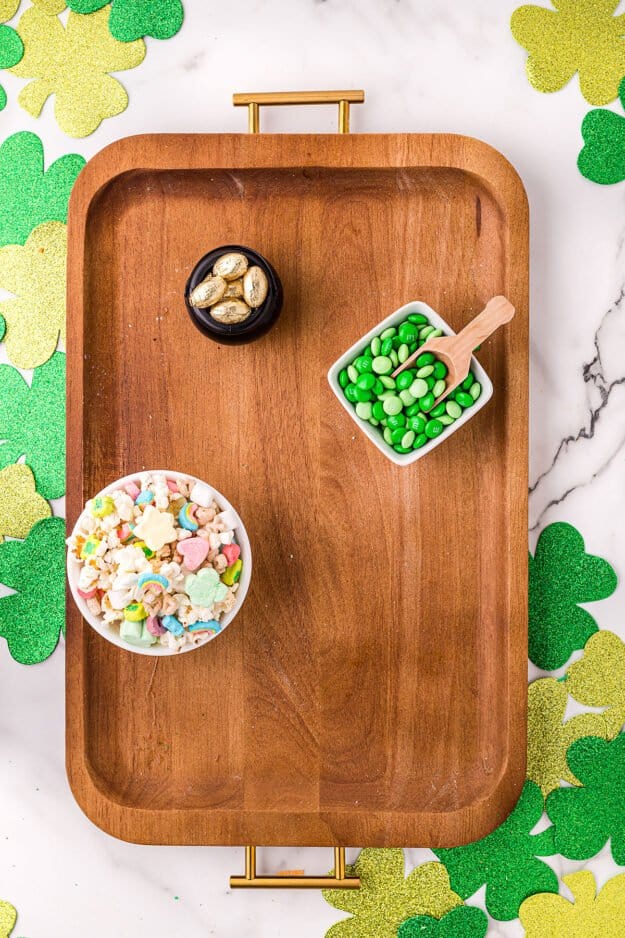
Lucky Charms Popcorn: In the largest bowl, you’ll want to combine kettle corn, Lucky Charms cereal, and Lucky Charms marshmallows. This makes a fun little snack mix and it’s so simple.
Fill Bowls: Add the gold eggs and m&m candies to the smaller bowls.
Sugar Wafers: Smear some green frosting over the vanilla wafers or dunk them in candy melts and let them set up a bit.
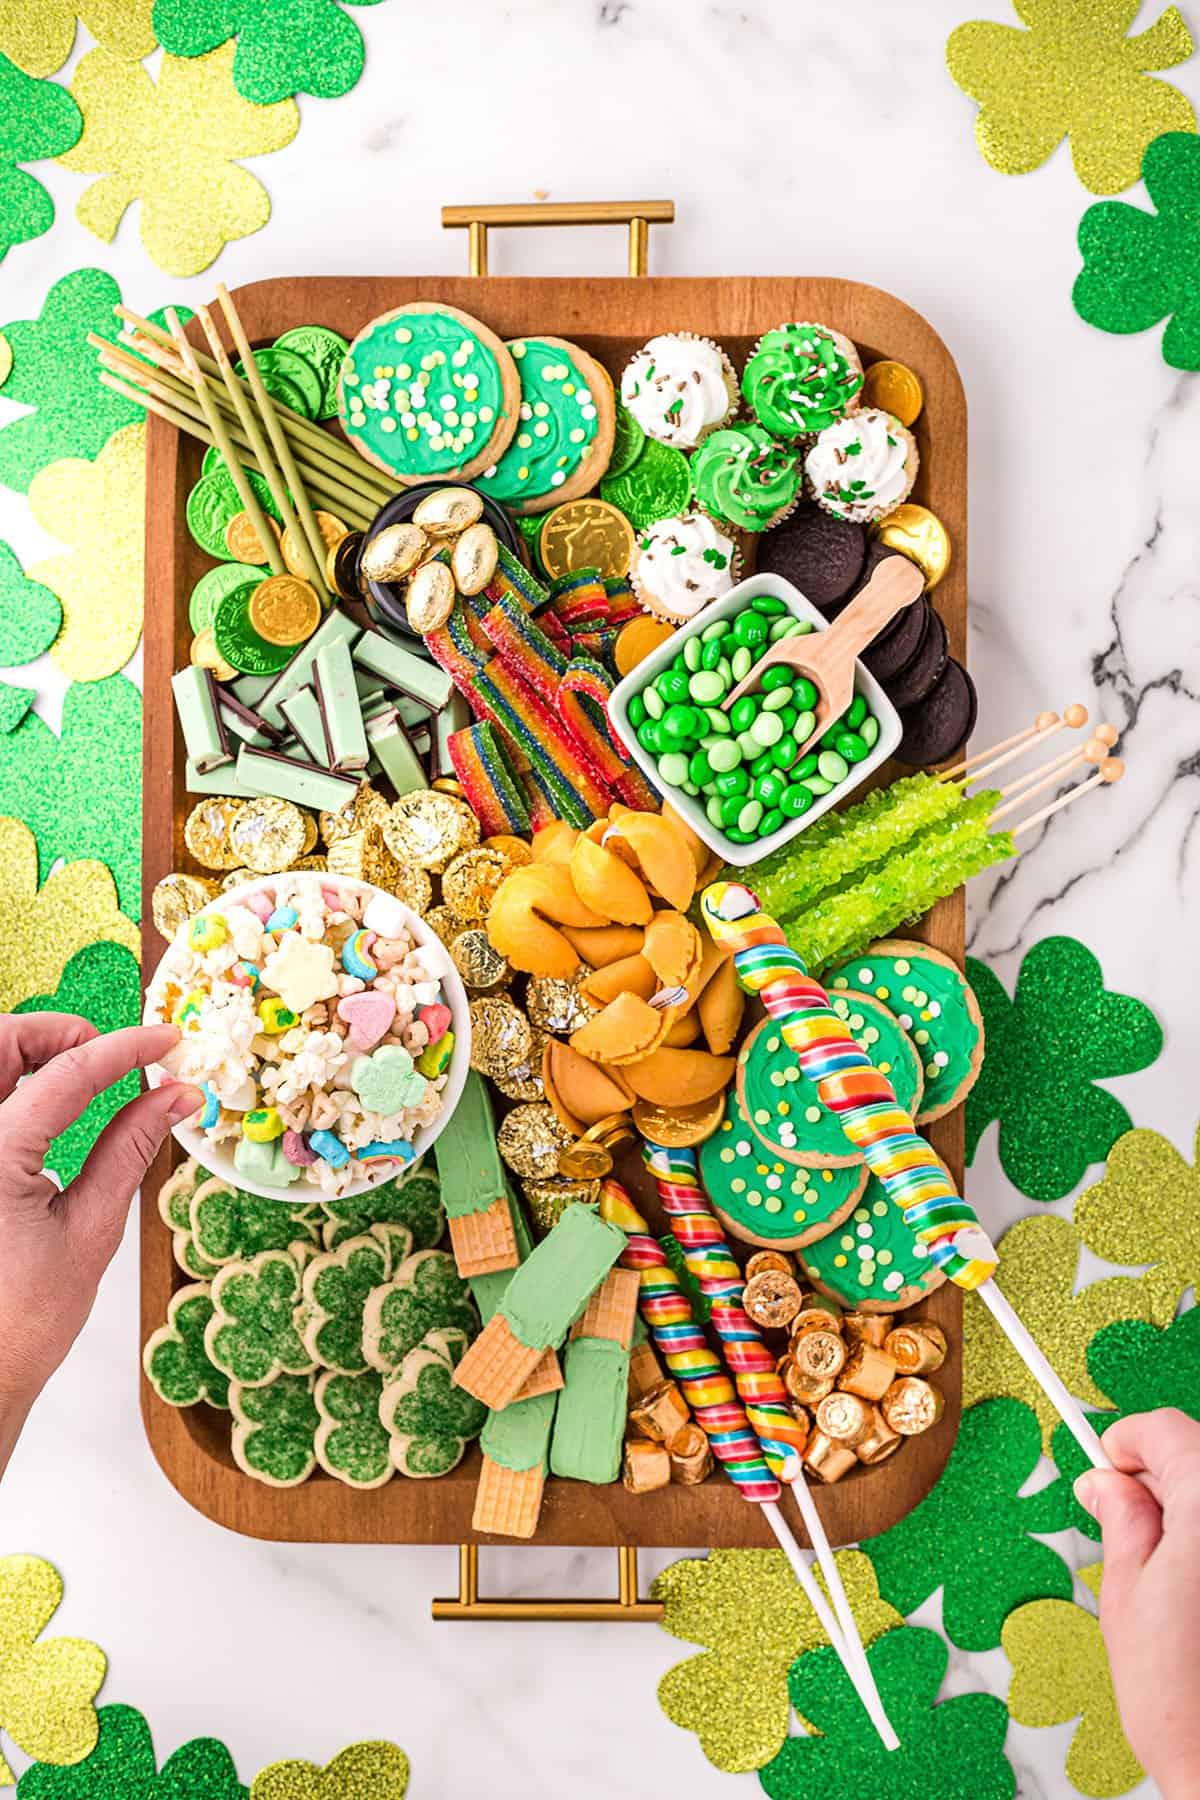
Load it Up: Our best trick for a beautiful snack board is to just go crazy – load it up with piles of goodies so that it looks like it’s bursting with treats and there are no gaps. We want our snack board to be full of treats! Arrange them however you see fit. Tips below.
Snack Board Tips & Tricks:
These tips and tricks apply for just about any type of snack board, dessert board, or charcuterie board recipe. So whether you’re piling it up with sugary treats or savory meats keep these tips and tricks in mind!
- Board: Whatever type you’re making you’ll obviously need an appropriate board or platter to go with it. They come in all shapes and sizes; some are simple, some are fancy, and some are even themed for holidays or events! We’ve even used sheet pans as the base for our snack board!
- Size: Before choosing a charcuterie board you’ll want to keep in mind just how much food you plan to put on it. The bigger the board, the more you’ll need to add to fill in all the spaces to keep it looking as appealing as possible.
- Shape: There is no rule for what shape of board to use. They are usually either rectangular or circular. Just pick whichever you feel is going to look the best for the theme you are going for!
- No Board: You can’t have a snack board, dessert board, or charcuterie board without a board! Or can you? You could lay down some parchment paper (or butcher’s paper) over a table and arrange the goodies on it if you don’t have a board or platter.
- Appeal: A lot of the appeal of a snack board is visual! When you see all those colorful candies, chocolates, and treats (or meats if you’re going for charcuterie) it’s supposed to look a bit overwhelming. You want guests to be wowed and a little bit unsure of where to start, because there are just so many tasty options.
- Color: In a dessert or snack board (and especially in this St. Patrick’s themed board) you’re going to want to have as much color as possible, arranged artfully to look as appealing as possible! Try to space out the colors, with pops of rainbow, gold, and green all across the board.
- Space: Nothing is sadder than a snack board with lots of gaps or empty spaces. You want the board to look like it is bursting with snacks! Fill in as many gaps and empty spaces on the board as you can so that it’s totally packed with snacks, treats, or meats! When you think you’ve added enough, go back and sprinkle in a little more.
- Variety: Go for lots of variety! If you’ve only got a few snacks to choose from you may want to opt for a smaller board.
- Quantity: I prefer variety over quantity on a snack board, so you don’t need to have a huge amount of each treat unless you’ve got room to fill in. So you don’t need to use an entire package of each treat and you’ll likely have leftovers. If we’re having a large party, we often refill the board after guests have gone through the first time. It keeps it looking full when people come back for more.
- Budget: Snack boards do cost a bit of money to prepare, because you’re just buying such a large variety of goodies. You can keep it more budget friendly by limiting yourself to 4-5 varieties of treats and just create severel different piles of each treat rather than keeping them all grouped together. This will make the board look more visually appealing.
FAQs:
That’s where the artistic or creative part of a charcuterie board comes in. It’s really up to you how you want to arrange it so go for appealing as possible. I’d recommend starting with any bowls or containers, filling those up, and then adding in the other items.
I’m calling it a St. Patrick’s Day snack board, but it could be referred to in a few different ways. Some would call it a dessert board, or a dessert charcuterie board. It really doesn’t matter, call it what you want!
Leftover Hack!
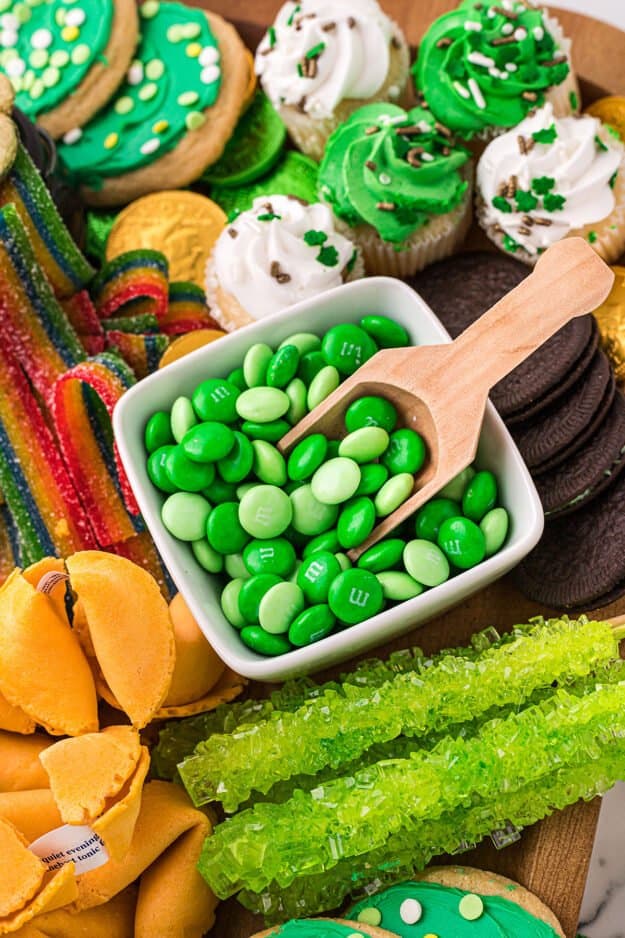
You’re bound to have leftover treats after building your board. We always keep some on hand to refill after guests have made their first pass over the board, but leftover treats can also be packaged up into small goodie bags for guests to take home if you don’t like a bunch of candies tempting you in the cupboard.
MORE ST. Patrick’s DAY RECIPES!
St. Patrick’s Day Snack Board
Ingredients
- 1 cup Rolo’s
- 1 cup Reese’s peanut butter cups
- 1 cup gold and green foiled chocolate coins
- 1.4 ounce box Matcha Pocky sticks
- 1 package Airheads Xtremes rainbow berry candy
- 1 package mint Kit-Kat candy bars
- 10 Oreo Thin Mint Cookies
- 6 green frosted sugar cookies
- 1 cup green M&M’s
- 4 green rock candy suckers
- 3 Rainbow suckers
- 6 green frosted mini cupcakes
- 10 Fortune cookies
- 12 Shamrock sugar cookies
- 6 Vanilla sugar wafers frosted
- 10 golden crunch eggs
- 1 1/2 cups kettle popcorn popped
- 1 cup Lucky Charms large marshmallows
- ½ cup Lucky Charms cereal
Instructions
- Grab a large cutting board, platter, sheet pan, or even a long roll of brown construction paper.
- Place 2 small bowls and 1 medium sized bowl where you would like them on the board.
- Fill smaller bowls with golden crunch eggs and M&M's.
- Add the popcorn, Lucky charms marshmallows, and Lucky charms cereal to the larger bowl.
- Arrange the remaining ingredients around the bowls, being sure to fill the board and not leave any empty spaces.



Leave a Review