This post may contain affiliate links. Read disclosure policy
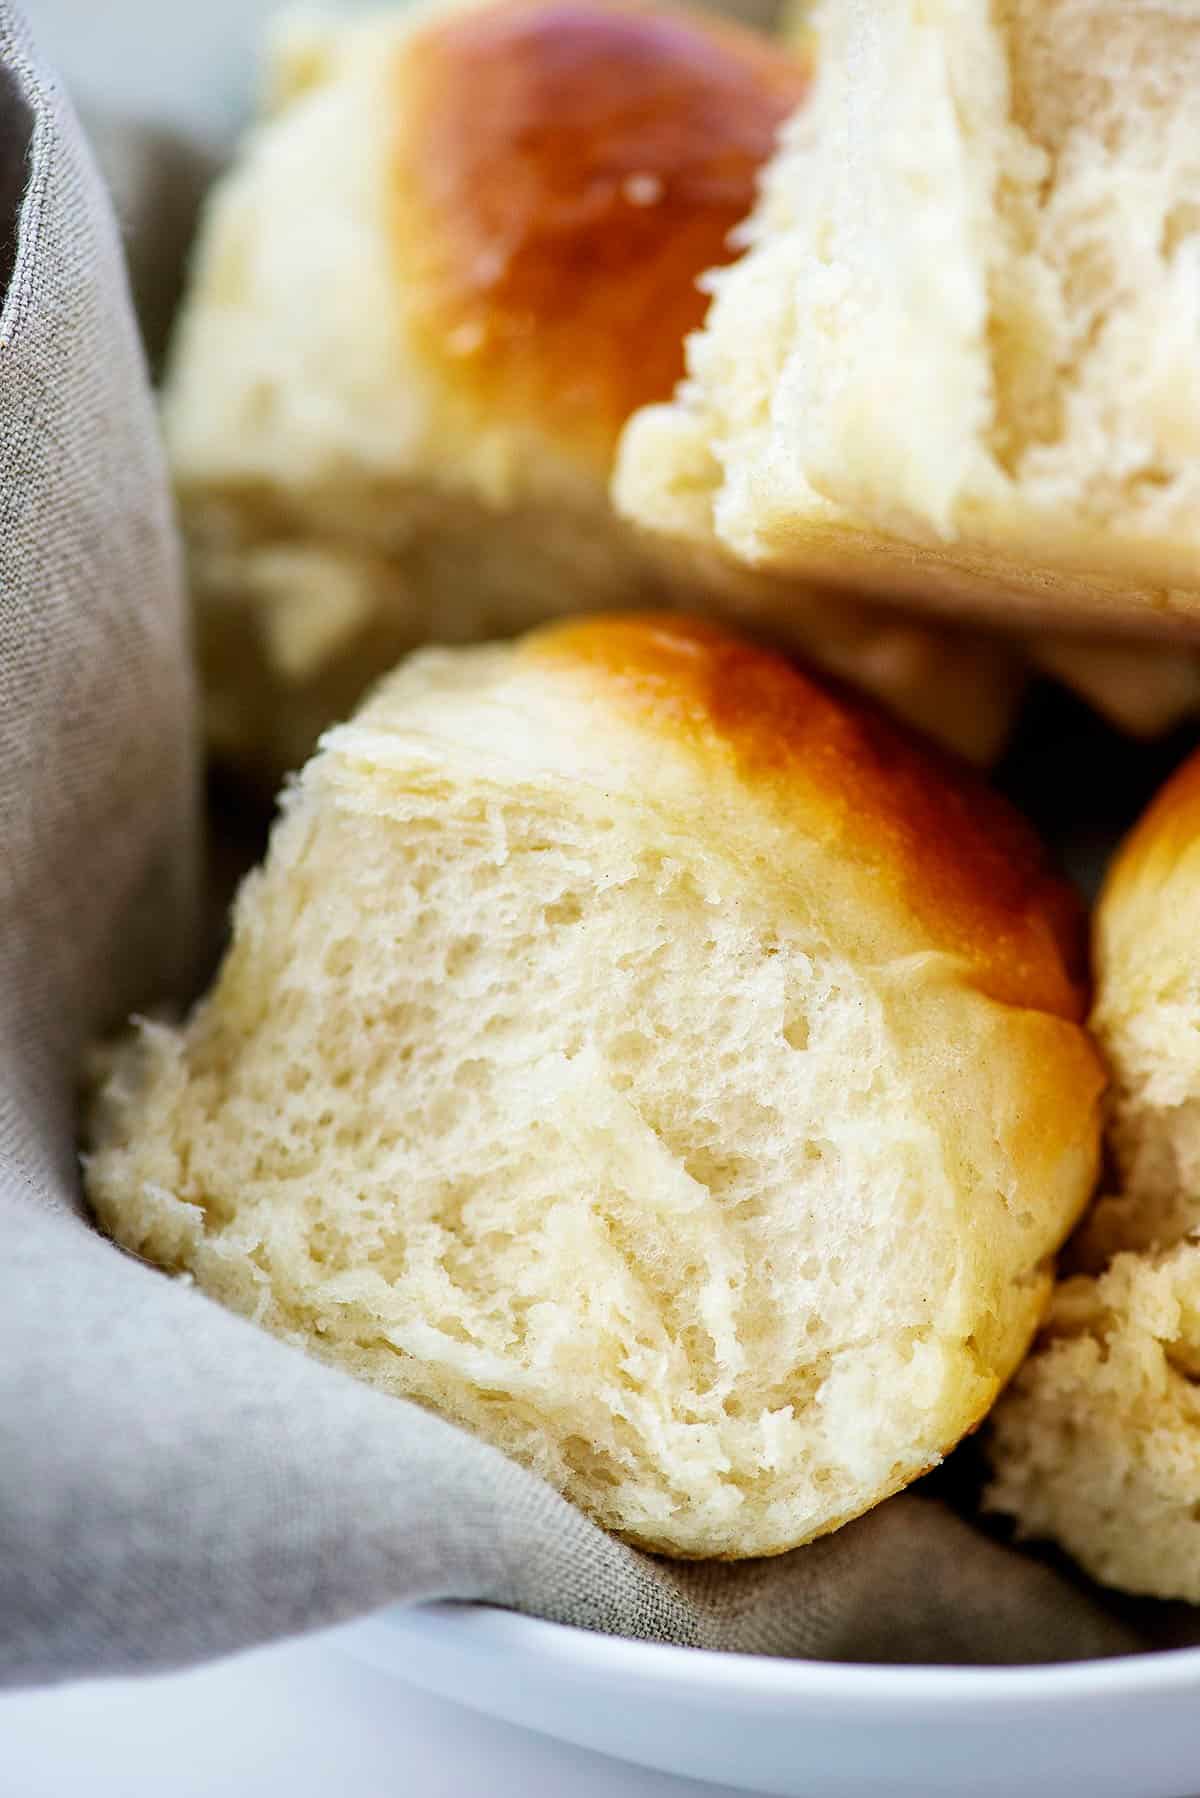
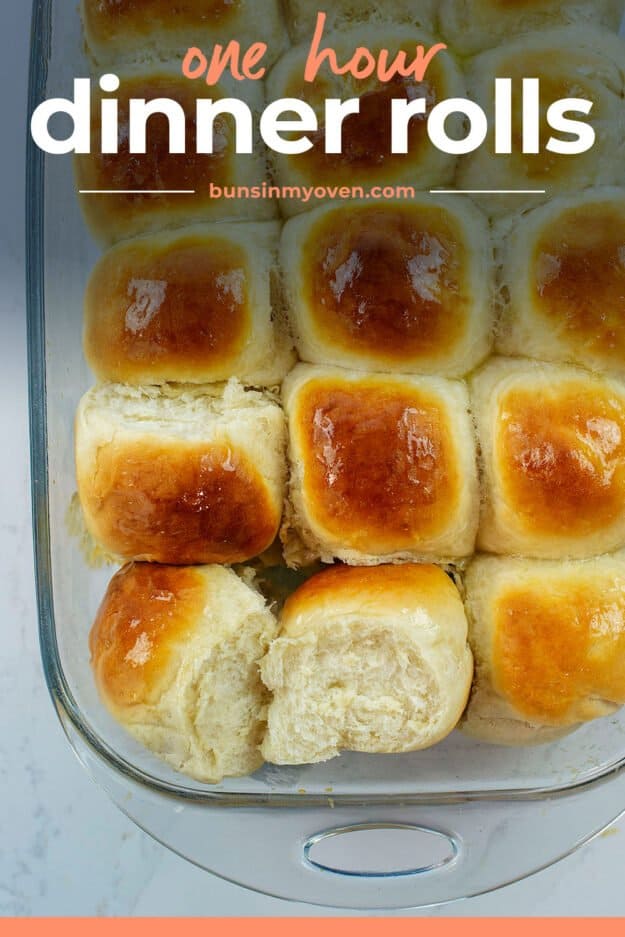
You don’t have to be an expert at baking to make these quick dinner rolls! Our quick yeast rolls are perfectly fluffy, extra buttery, and the perfect way to impress your family – in just ONE HOUR!
My absolute all time favorite thing to bake is yeast dough…whether it’s a cinnamon roll or a dinner roll or a pizza crust, I LOVE the process of taking a handful of simple ingredients and turning it into a magnificent piece of bready, carby, deliciousness.
That said, I don’t usually share those recipes here with you, because when I have in the past it seems like people are intimidated and want to stick to more simple recipes.
Well, today I’m sharing the EASY way to get quick dinner rolls on the table in just one hour.
Please don’t be intimidated, because this process is simple and I’ll walk you through with all of my tips and tricks! We’ve even created a video of the process to help you succeed!
Oh, and if you don’t whip up a batch of my cinnamon honey butter to serve with these one hour dinner rolls? I’m honestly not sure if we can be friends anymore. 😉
We tired to make this a VERY COMPREHENSIVE GUIDE on how to make quick dinner rolls – there’s a lot of information here, just like in my homemade biscuits post! If you want to get straight to the recipe, use that Jump To Recipe button up above or just scroll on past all the details!
Ingredient Notes:
This post contains affiliate links. As an Amazon associate and member of other qualifying programs, I earn from qualifying purchases.

Flour – We use all purpose white flour here. You can experiment with using white whole wheat flour or half whole wheat and half white, but your rolls won’t be as light and fluffy.
Yeast – We’ve used both active dry yeast and instant yeast and, in this recipe, both work fine. You’ll need a full tablespoon of yeast, so if you’re using the packets, that just a little more than 1 packet. I buy yeast in jars and keep it in my fridge.
Water or Milk – You need warm water or 2% milk between 105 – 115 degrees Fahrenheit. We pop our meat thermometer in the water (it works, haha) to test, but you can also just dribble it on your wrist – if it’s a warm, comfortable temperature, it’s likely good.
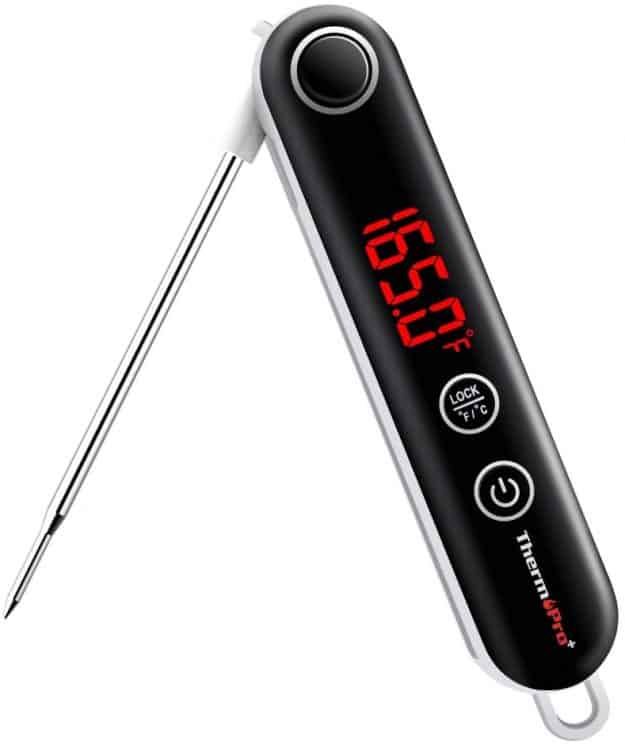
My Favorite Thermometer!
I love using this meat thermometer for making sure meat is properly cooked, but it also works just fine for testing the water temp when baking with yeast. Easy for beginners & absolutely worth the low cost.
Sugar – Not only will a touch of sugar give a bit of flavor to the dough, it will also give the yeast something to feed on and help the bread to rise.
Butter – We’ll use a bit of butter in the dough to add some richness, but we’ll also be brushing plenty of melted butter over the top of the dough. And, of course, you’ll want some softened butter to serve with your rolls as well.
What We Love About This Recipe!
These dinner rolls are ready in no time at all and you don’t need to have any experience with baking bread to pull them off! It’s just a few simple ingredients and steps to make perfectly hot and fresh dinner rolls!
Water Vs. Milk:
This recipe works great with either water OR milk – or a combination of both!
Water is what we usually use, just because it’s easy to get warm straight from the tap. Warm milk will provide a richer flavor in your dinner rolls though.
Both work well – use what you like. 🙂
You will need:
Stand Mixer – This is going to make the job of kneading all that dough and just about any other baking recipe a whole lot easier! While you CAN make bread by hand, this makes life so easy.
How to Make Dinner Rolls:
Yeast: First up you’ll need to activate the dry yeast with some warm water. Add the yeast and warm water (around 110 degrees F) to the bowl of the stand mixer and sprinkle the sugar over the top. Let it sit for 5 minutes or until the yeast is foamy.
NOTES:
If the liquid is too hot, the yeast will die. If the liquid is too cold, the yeast won’t activate. We use a thermometer to test our water temperature for the best results. It should be about 105-115 degrees Fahrenheit!
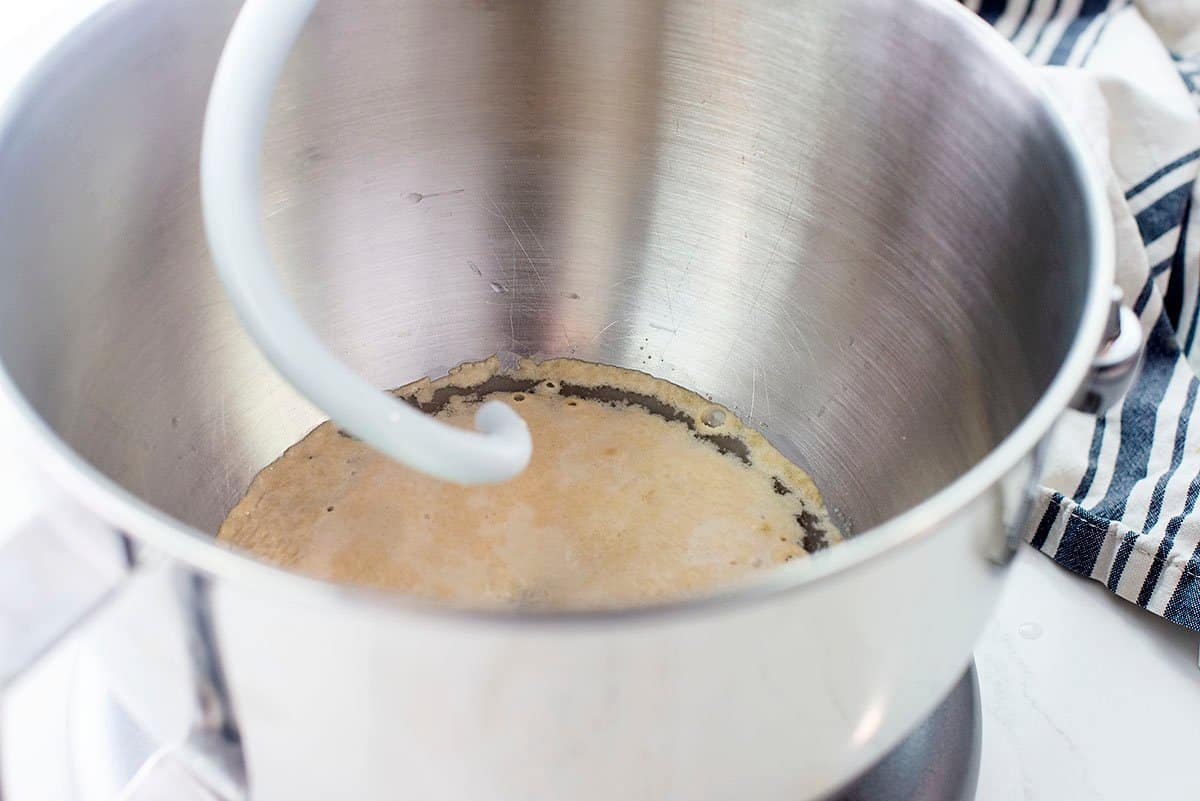
Dough: When the yeast is foamy you can add the remaining bread dough ingredients including the flour, softened butter, and salt to the stand mixer bowl.
Start kneading the dough on low speed using the dough hook attachment on your stand mixer. You can then increase to medium and continue kneading.
Adjust: At this point your dough should be forming a ball that’s clearing the edges of the stand mixer – but that never happens for me on the first try. 😉 The dough will look as if it’s forming a ball and then *flop* it all slips off the hook and pools at the bottom of the mixer. This is fine – just add more flour, 1/4 cup at a time, and keep kneading/mixing until you get that dough ball. We usually end up right around 4 cups of flour, but it depends on the humidity. <— This part scares people away from baking with yeast, but IT’S NO BIG DEAL. Just add more flour – you won’t hurt anything.
Knead: Once your dough is a more uniform ball and not puddling in the bottom of your mixer, keep on kneading on medium speed for 5-10 minutes. You’ll want a nice, elastic dough that doesn’t leave a lot of dough behind on your fingers when pinched – a little is fine, but the dough should be workable.
NOTES:
- You will almost certainly need to add additional flour. We usually end up closer to 4 cups, depending on the humidity.
- Start by adding the 3 ½ cups of flour as called for and mixing. If the dough is holding it’s shape and clearing the sides of the bowl without leaving a lot of residue on your fingers when pinched, it’s ready to go.
- If the dough does not form a ball or clear the edges of the bowl while mixing, add additional flour ¼ cup at a time until it does.
- Often times when you start mixing the dough it will hold it shape, but after a minute it will sort of flop down off the dough hook – add more flour each time that happens until it forms a nice ball of dough.
- The goal is to add JUST ENOUGH flour to get a nice, smooth, workable dough. Once it’s holding it’s stopped puddling around the bottom of the mixer, you likely have enough flour. Knead for 5-10 minutes for a smooth dough.
- It should be ready when the dough is soft and pliable and leaves only a small amount of residue on your fingers when pinched.
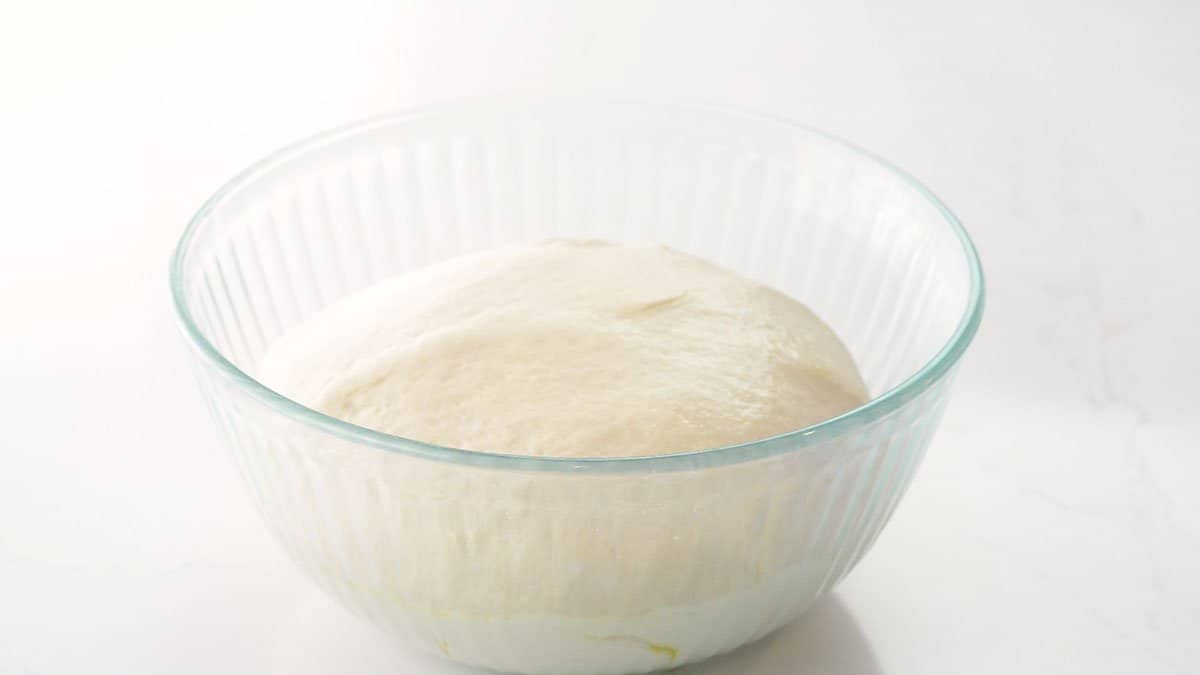
Rise: Remove the bread dough from the mixer and shape it into a ball. Place it into a large greased bowl and cover it with a tea towel. Set it aside and let the dough rise for about 15 minutes.
Notes:
Dough rises very nicely in the oven! Just turn the oven light on and pop your dough in. The warmth of the light makes the perfect cozy spot for dough to rise.
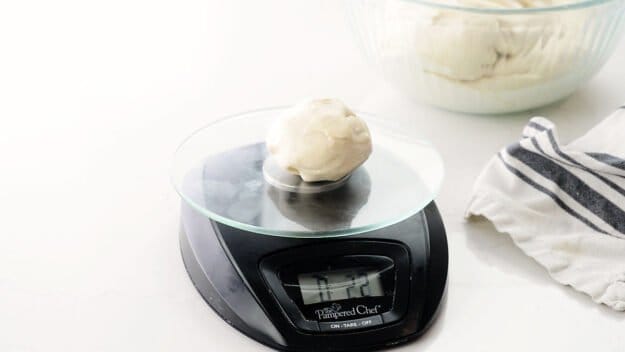
Weight: After the dough has risen punch it down (my daughter’s favorite part to help with!) and then divide it into 15 equal sized pieces about 2 ounces in size. You can use a kitchen scale if you want them perfectly portioned!
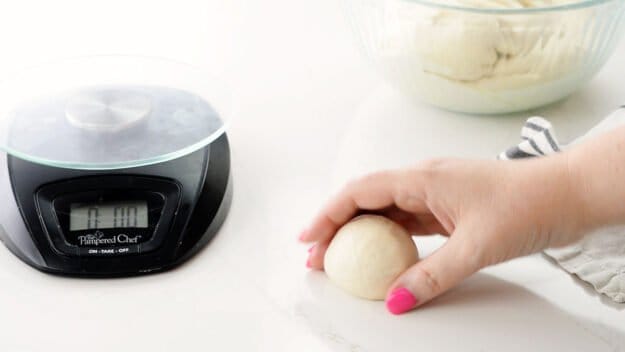
Shape: Take your dough ball and place it directly onto your clean, dry countertop. Form a ‘C’ with your hand and place it around the dough ball with your pinky on the counter top. Move your hand in a circle, keeping your pinky and side of your hand on the counter, moving the dough ball in the ‘C’ shape. This will form a nice, tight ball of dough. See the video above for an example. It’s easy!
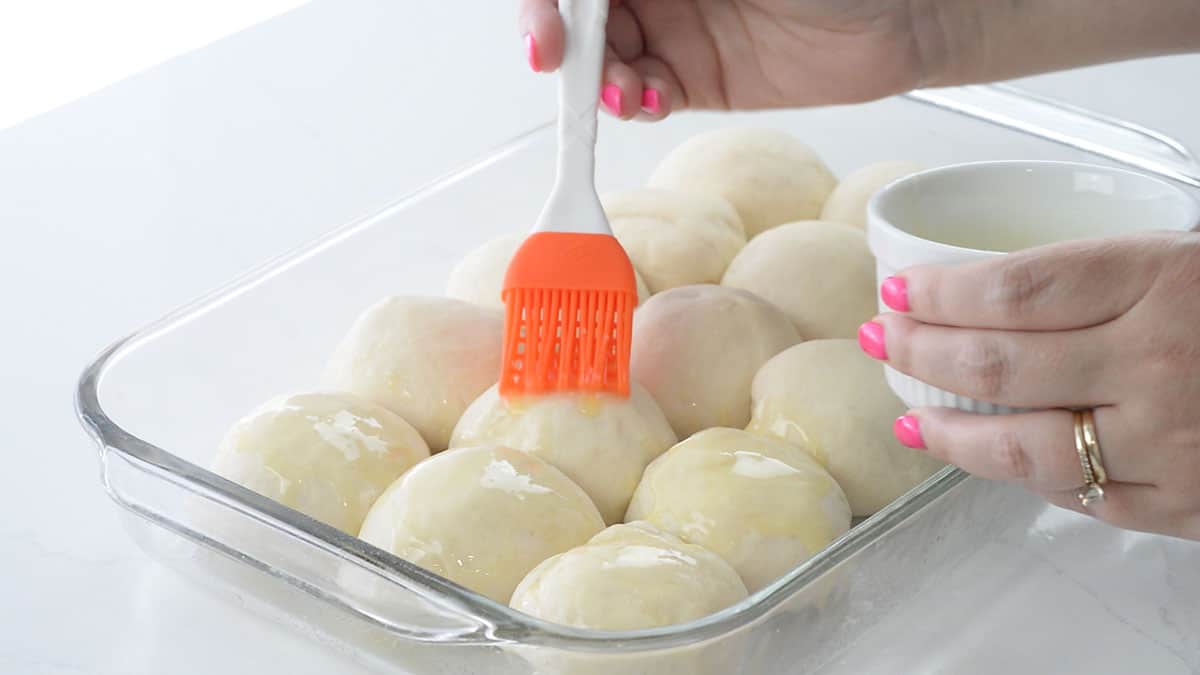
Second Rise: Place each ball of dough into a greased baking dish and cover it with a tea towel. Let the dough rise on your counter for 15 minutes while your oven preheats.
Bake: After rising again you can brush the balls of dough with the melted butter. Finally, bake for 15 minutes or until the tops are golden and the rolls are cooked through!
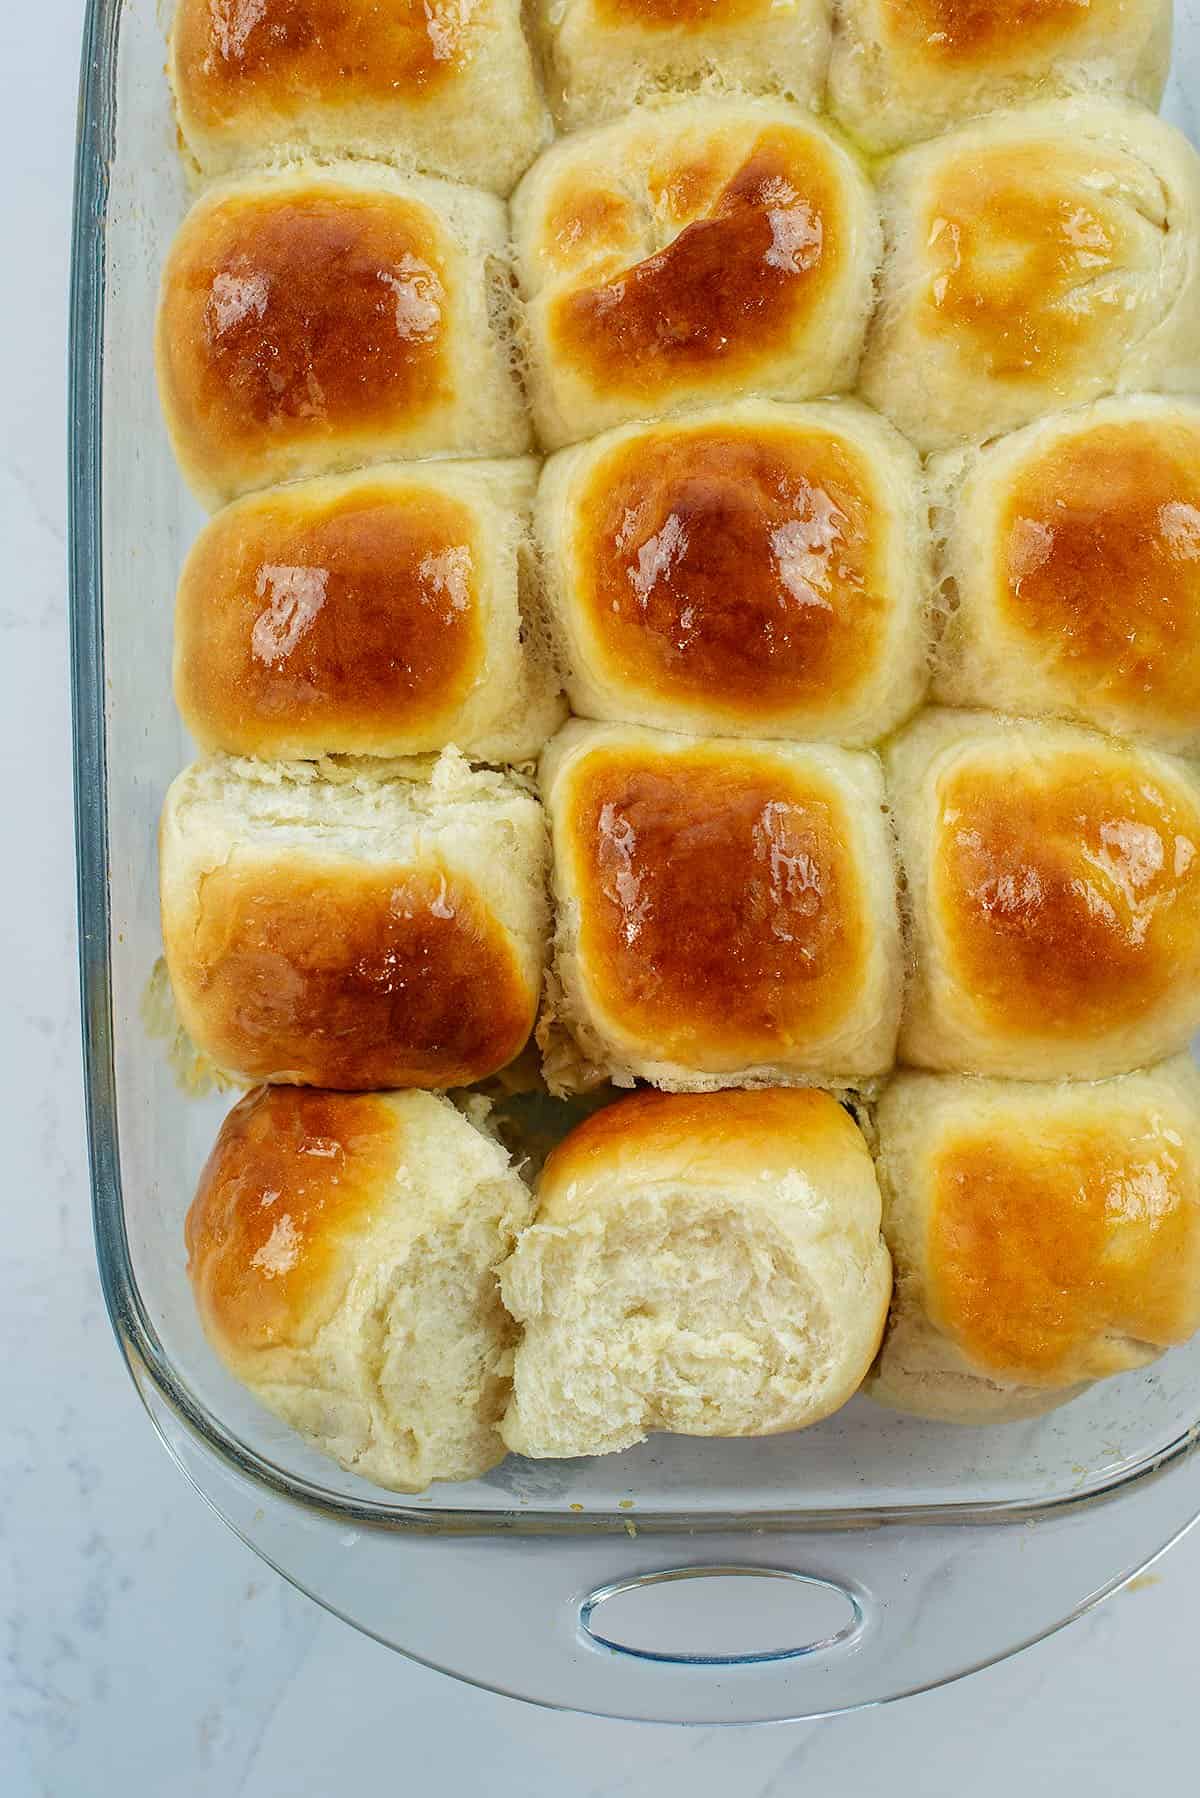
We like to give the dinner rolls another brush of melted butter after baking and let them cool for about five minutes before serving while they are still nice and warm!
Instant Yeast Vs. Active Dry Yeast:
Active dry yeast needs to be proofed in warm water as we’ve done in this recipe.
Instant yeast can be tossed straight in with the flour and other ingredients – no proofing needed.
However, we always go ahead and add our instant yeast to the warm water just to see it bloom. It gives me peace of mind to see that the yeast is alive and doing it’s job. I’d hate to mix up all of the ingredients, knead the dough, and then the dough never rise.
Fluffy Dinner Rolls:
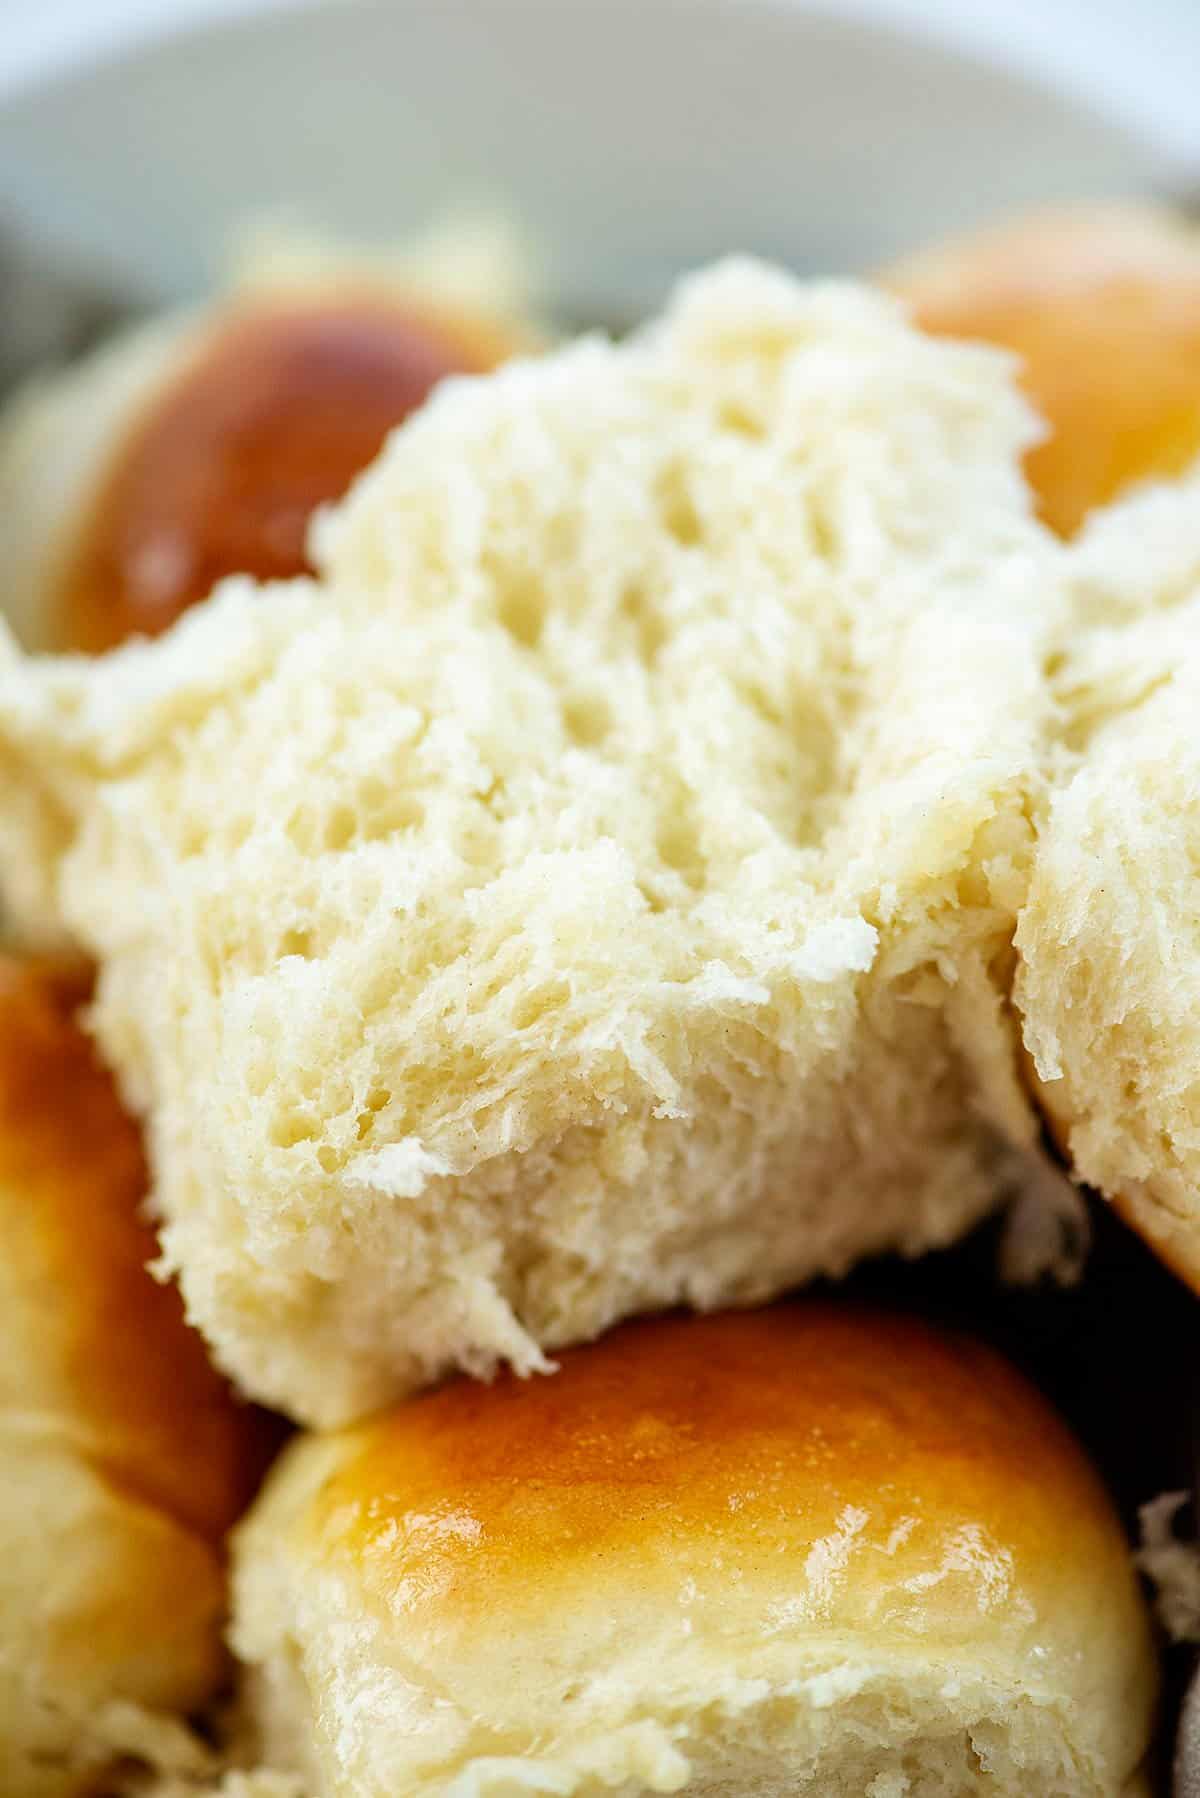
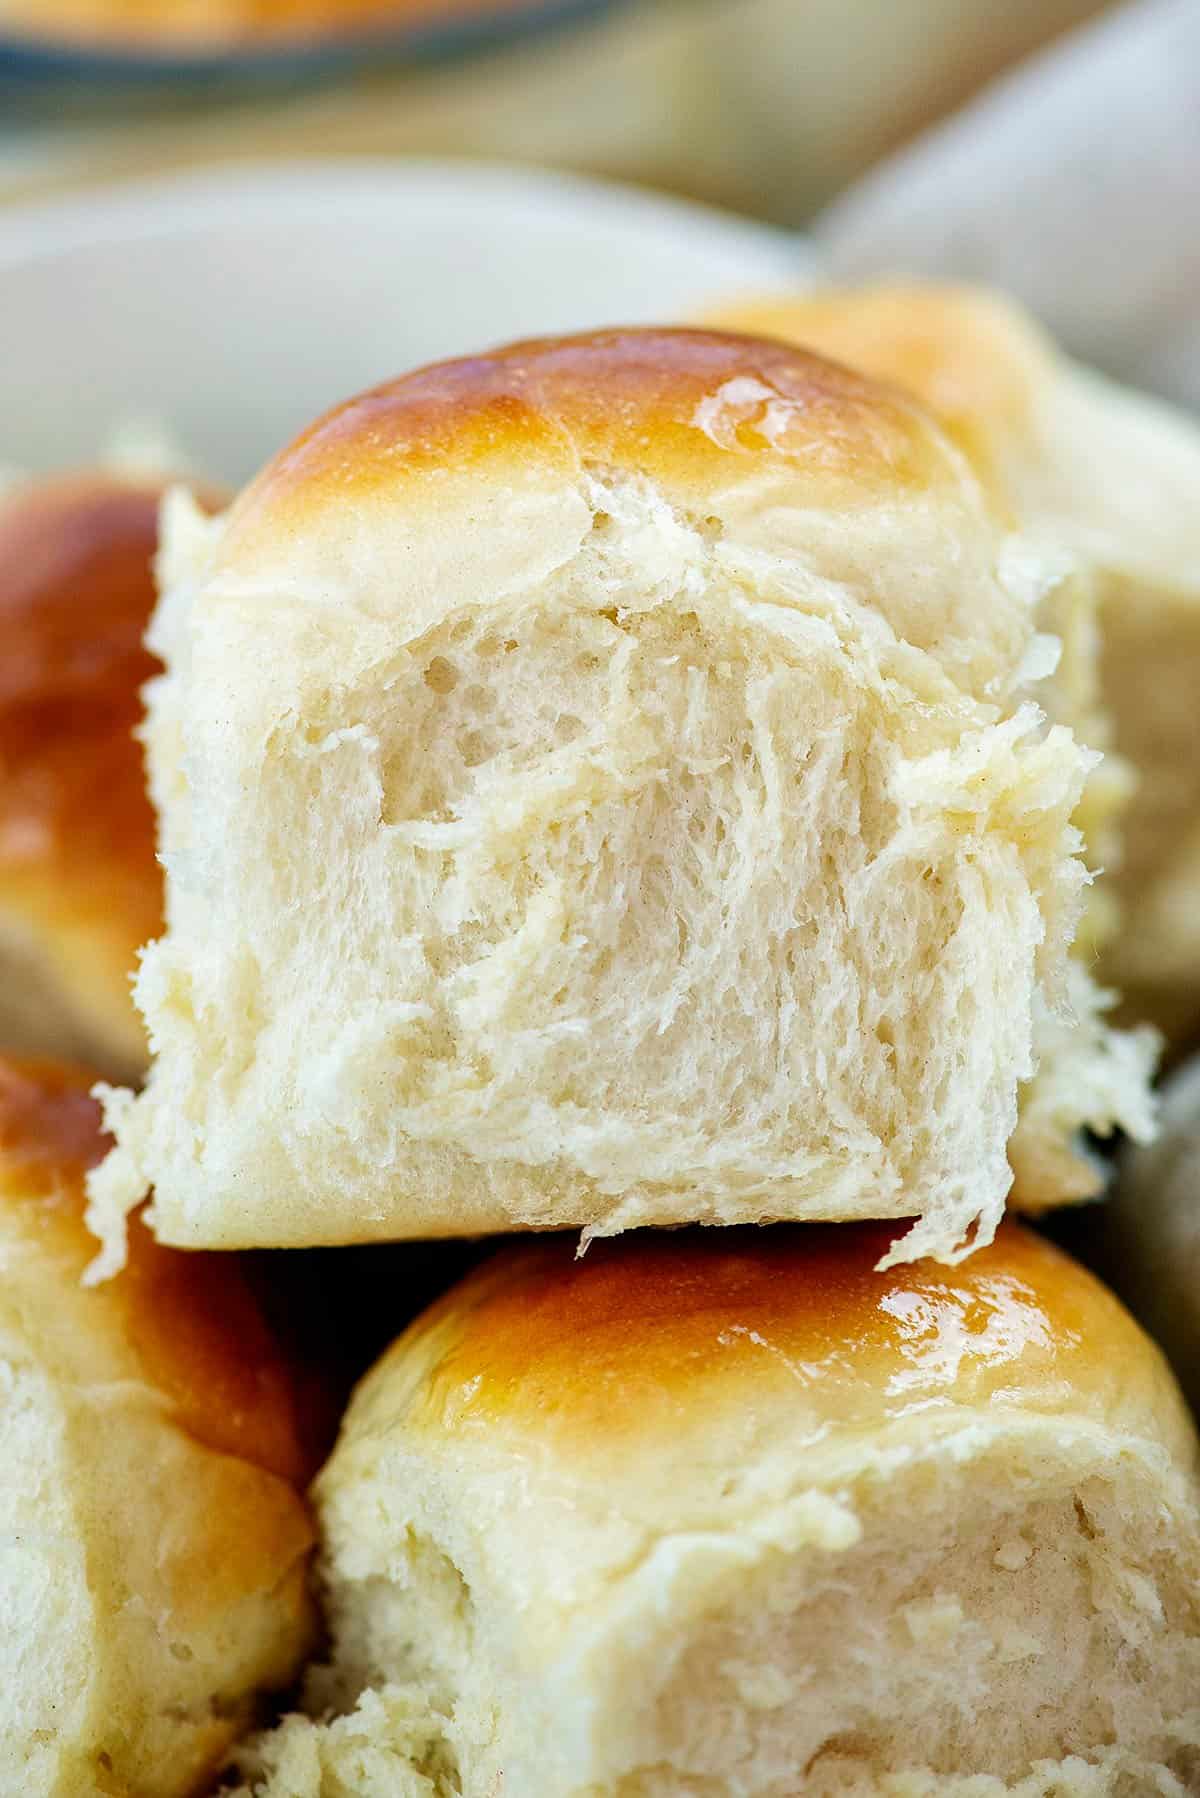
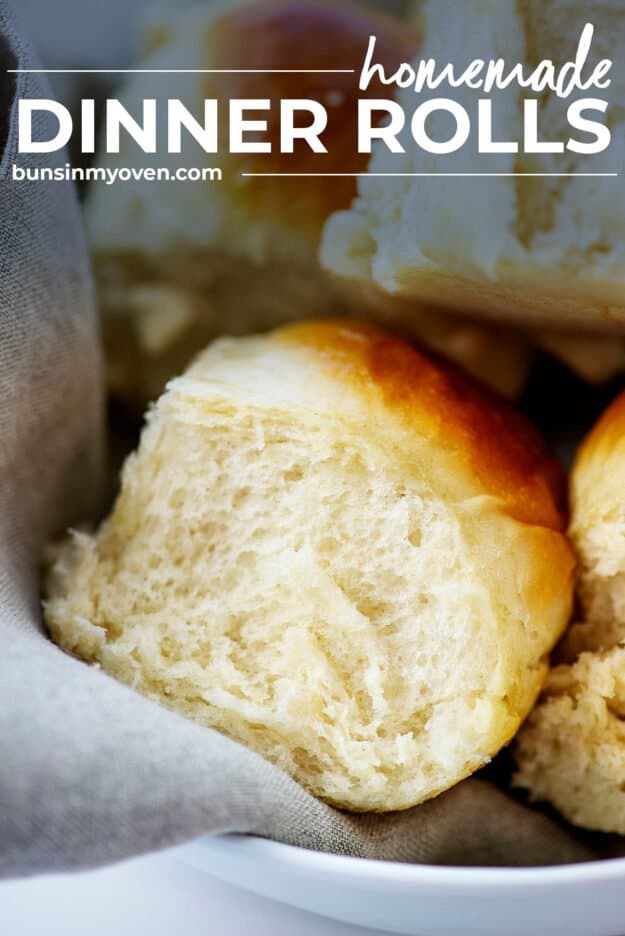
Just look at how fluffy and glorious those rolls are! Slathered with butter, drizzled with honey, next to a bowl of soup, I don’t care how you make them – they are simply irresistible!
Garlic Dinner Rolls:
We often sprinkle garlic salt on our rolls after brushing them with butter and before popping them in the oven. It gives the tops this perfect salted garlic flavor that we love!
We DO NOT recommend adding garlic in any form to the dough itself – garlic inhibits rising and we ruined quite a few batches of these rolls before we figured that out. Many other recipes do call for adding garlic powder straight to the dough, but it’s never worked well for us.
FAQs:
To get the most life out of these quick dinner rolls keep them at room temperature in an airtight bag or wrap them in foil. They should last for about 4 to 5 days.
Yes! If you want to keep them for longer than a few days you can freeze the rolls for about 3 months. Store them in a plastic freezer bag or wrap them in tightly in plastic wrap and aluminum foil.
MORE QUICK & EASY BREAD RECIPES!
- Monkey Bread
- Beer Bread
- Pumpkin Chocolate Chip Bread
- Air Fryer Crack Bread
- Pizza Bread
- Low Carb Cornbread
- Blueberry Banana Bread
- English Muffin Bread
Quick Dinner Rolls
Ingredients
- 1 ½ cups warm water around 115 degrees
- 1 tablespoon active-dry yeast
- 2 tablespoons sugar
- 2 tablespoons butter softened
- 3 1/2 cups all-purpose flour more as needed
- 1 teaspoon kosher salt
- ¼ cup melted butter
Instructions
- Add the warm water and yeast to the bowl of a stand mixer fitted with the dough hook. Sprinkle the sugar over the top. Let sit for 5 minutes or until yeast is foamy.
- Add the butter, flour, and salt to yeast mixture and knead on low speed to combine. Increase speed to medium and continue kneading for 5 minutes. You may need to add additional flour, see notes.
- Once dough is soft and pliable, but leaving only a small amount of residue on your fingers when pinched, remove from the mixer and shape into a ball. Place in a large, greased bowl.
- Cover the bowl with a tea towel and set aside to rise for 15 minutes.
- Once dough has risen, set oven to 400 degrees to preheat and butter or grease a 9×13 baking dish.
- Punch down the dough and divide into 15 equal sized pieces, weighing about 2 ounces each.
- Roll each piece of dough into a tight ball. For shaping dinner rolls, see video above. Arrange rolls in prepared baking dish.
- Cover with a tea towel and let rise for 15 minutes.
- Gently brush the melted butter over the tops of the rolls.
- Bake for 12-15 minutes or until tops are golden and rolls are cooked through. Place under the broiler to brown the tops further, if desired.
- Remove from the oven and brush with additional butter. Let cool 5 minutes before removing from the pan.









nicole ruel says
sauce a sapgetti , mrci a vous
Anne says
Do you make these in a gas oven?
Karly says
We’ve used both gas and electric.
Vickie says
I don’t know how you do it all! I love working with yeast doughs, so YES! If you have more recipes, please share! Nothing is as satisfying as working with yeast dough. I made LOTS of mistakes when I first started out years and years ago, but once you get the feel of what the dough should feel like, it is so satisfying. And there is nothing like the smell of fresh baked bread-a great smell for kids to remember when they come home from school or your hubby when he has had a busy day.
Karly says
I have a lot of help, Vickie! Definitely not doing things all by myself. 🙂
So glad to hear you’re interested in more yeast recipes. I agree – so satisfying to work with and kind of calming and peaceful. Will share some more recipe soon!
MARGORY EVERY says
I will be making these for Easter this weekend. Are you aware there are conflicting instructions in this post? In the first explanation it says to form balls twice and states to roll into 18 balls the second time and in the printable recipe it says to raise the dough and then roll into 15 balls, lol. I’m not trying to be mean, just thought you should be aware. Can’t wait to try this recipe, thanks for sharing it with us.
Karly says
Ah, thank you!! I appreciate the heads. The issue is when I’m writing the recipe up, the website saves it and then that cached version shows up in the printable recipe but not on the part where I’m double checking my work. So frustrating and I need to get better about double checking that printable version! I’ll fix now! 🙂
Ky says
Made these today. One of the best quick yeast rolls I’ve made (& I’ve made many!) I think the trick is the softened butter in the dough.
Karly says
Oh yay! I’m so glad you gave them a try and enjoyed them! 🙂
Shirley Guzzi says
Love all the yeasty breads/rolls/etc. Share away!
Karly says
Love to hear it! Thanks, Shirley!