This post may contain affiliate links. Read disclosure policy
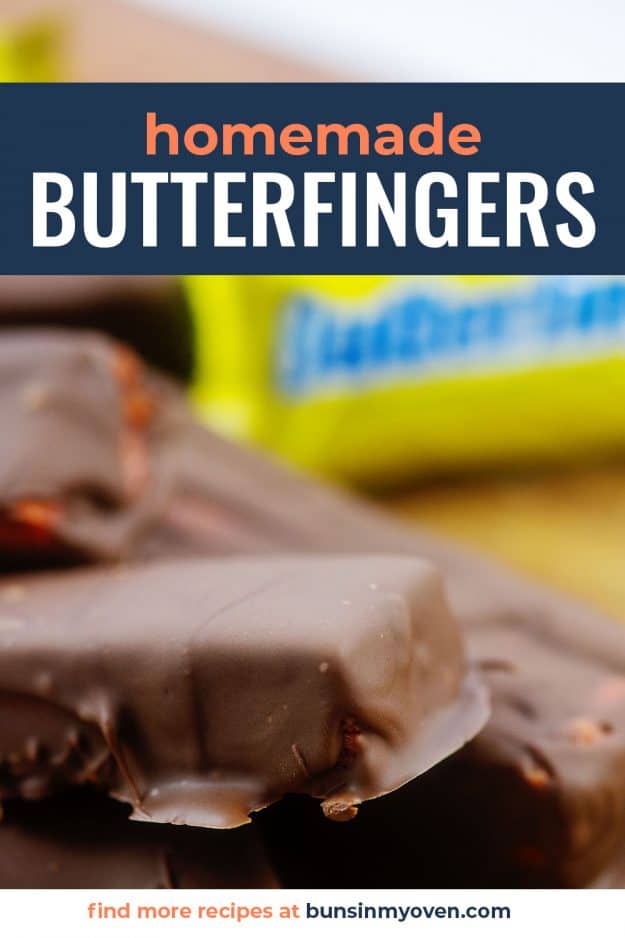
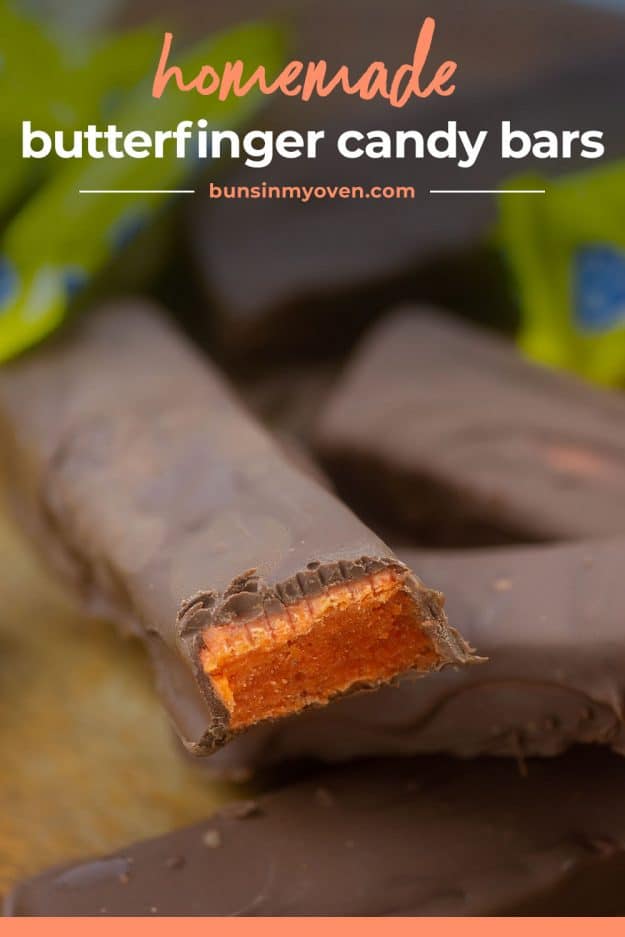
Three ingredient HOMEMADE BUTTERFINGER CANDY BARS are such a fun treat to make with the kids. And you’ll never guess what three ingredients make up these candy bars – seriously, so crazy!
I have been 100% avoiding the Halloween candy aisle at the grocery store lately.
We recently moved to a home down a loooooooong driveway that no one is going to come down for a candy bar and I know myself…I will have that bag of candy eaten well before Trick or Treaters have a chance, anyway.
But, then, somehow I ended up with a bag of Candy Corn. Literally the worst Halloween candy ever, if you ask me.
Guess what I did with the Candy Corn? Just guess.
Yep, that’s right…I turned it into homemade Butterfinger candy bars. This recipe is so crazy, but so easy. You truly have to try it to believe it!
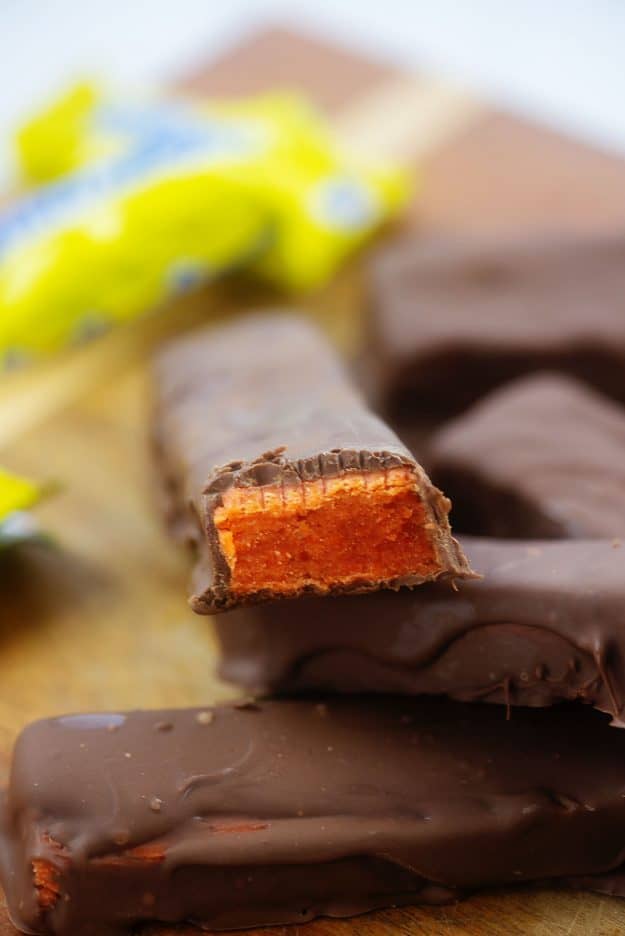
How do these compare to the real deal:
The flavor of these homemade candy bars is SPOT ON. No one ever believes that they’re made from candy corn!
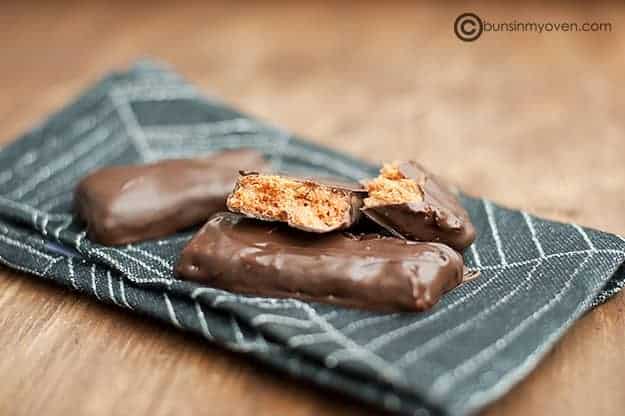
The texture of these homemade Butterfingers is different than that of the crisp layers you get in a real Butterfinger.
When these are at room temperature, they’re a bit chewy.
When cold, they’re a bit more crunchy than crisp, but they’re fairly close to a Butterfinger.
How to Make:
Candy Corn: This recipe is very simple and the Butterfinger ingredients are not what anyone would expect, but it really does taste like the real deal! Candy corn, peanut butter, and chocolate are the only ingredients required.
- Easily melt the candy corn by placing in a microwave safe dish and heating for 1 minute. Stir and continue cooking for 30 seconds or until it has fully melted. Do NOT overcook or you’ll end up with crunchy Butterfingers. Heat long enough for it to stir down and that’s it.
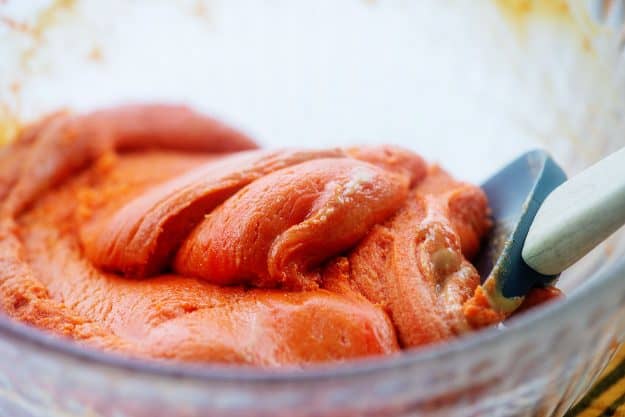
Peanut Butter: Add the peanut butter to the still hot candy corn and combine, the heat from the candy corn should help to melt the peanut butter.
- If it has cooled off, return the mixture to the microwave for a short time to help it melt.
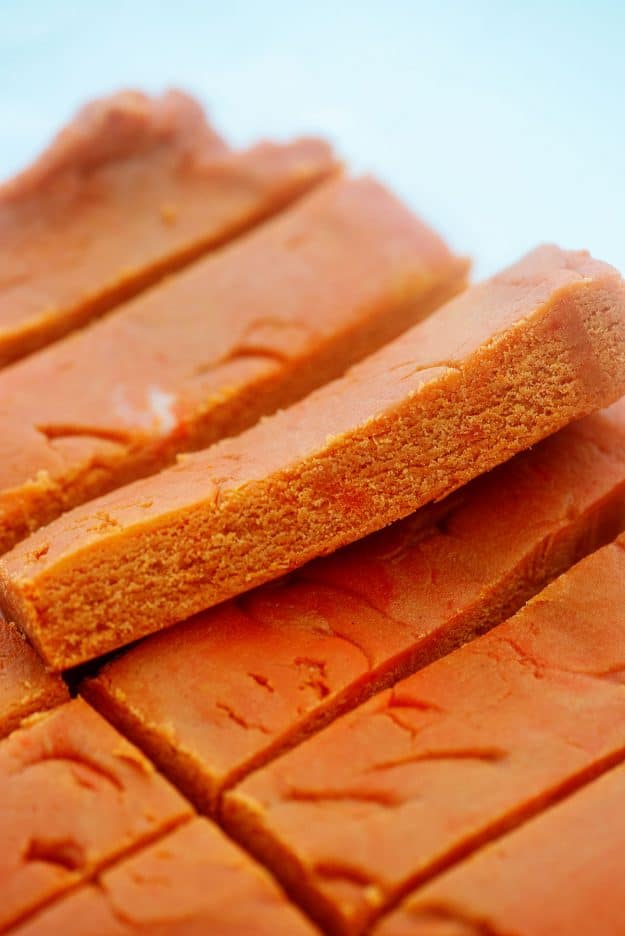
Allow To Cool: When the peanut butter and candy corn mixture are ready, spread into a 8×8 baking dish lined with parchment paper. Be sure to evenly smooth it out, and allow it to cool for one hour.
- After cooling, use a pizza cutter or sharp knife to slice the mixture into candy bar shapes.
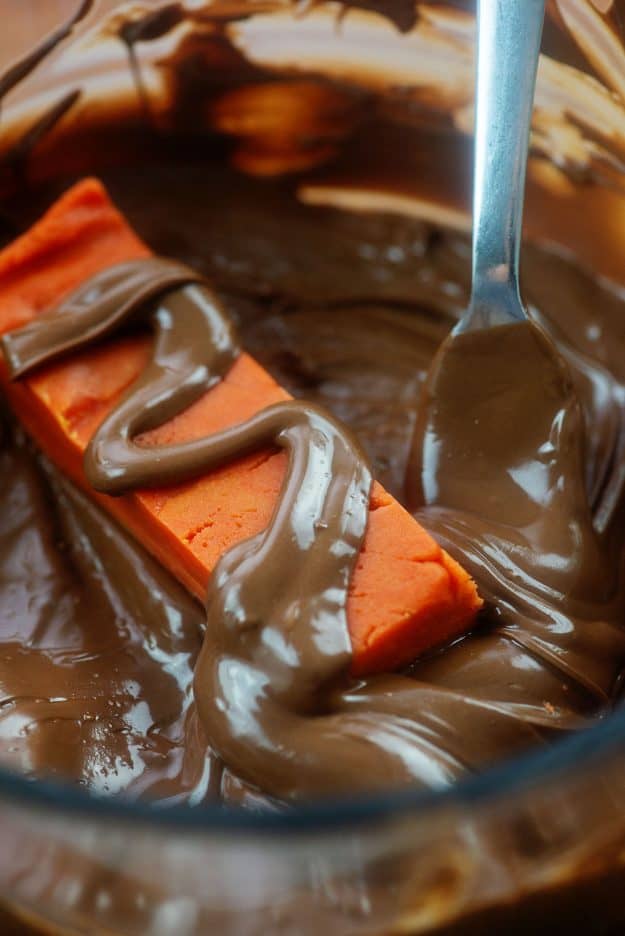
Melted Chocolate: Now for the fun part! In a microwave safe bowl melt the chocolate candy melts, or do it on the stove in a double boiler at low heat. Once it has melted, start dipping the candy corn/peanut butter bars into the chocolate. You can either fully coat the candy bars (like the original) or you can just dunk the tops. It’s definitely less mess to just dunk the tops.
- Place coated bars on a parchment lined baking sheet and allow to cool before serving.
Helpful TipS!
- This recipe is perfect for all the left over candy corn from Halloween that nobody wants. Turn it into something even better!
- If you store these at room temperature they will have a chewier texture. Store in the refrigerator it make it crisper.
- Be careful not to overheat the candy corn mixture or it may become too crunchy.
- Did you know that these homemade Butterfinger candy bars are gluten free?
More halloween treats:
Homemade Butterfinger Candy Bars
Ingredients
- 3 cups candy corn
- 1 1/2 cups smooth peanut butter
- 2 cups chocolate candy melts for dipping
Instructions
- Place the candy corn in a large bowl and microwave for 1 minute. Stir and return to microwave. Continue heating for 30 seconds and then stirring until it is completely melted.
- Stir in the peanut butter. The heat from the candy corn should melt the peanut butter, but if not return to the microwave for 15 seconds. Stir to combine.
- Spread the mixture into an 8×8 baking dish lined with parchment paper. Smooth it out evenly in the pan. Let cool for one hour and then use a sharp knife to slice into bars.
- Melt the chocolate bark in the microwave according to package directions.
- Carefully dip the candy bars into the melted chocolate and turn to coat.
- Place on a parchment lined baking sheet and wait for the chocolate to set, 2 hours at room temperature or an hour in the fridge.
- Store at room temperature for a chewy texture or in the fridge for a more crisp texture.
Tips & Notes:
Nutrition Information:
This recipe was adapted from In Katrina’s Kitchen and originally published in 2011. It’s been updated with new photos in October 2020.








Carolyn Allsbrook says
I’m going to try this today. Butterfingers are my favorite.
Karly Campbell says
HOpe you love it! 🙂
Zack says
This recipe is spitting tasty ? bars
Janet says
These are so good
Debra Grutza says
Am going to try these tomorrow. My son hasn’t had a butterfinger in many years. He has food allergies. And with this recipe I am trying it with WOW peanut butter. He can eat that, just not regular peanut butter. Hoping it will taste good. The WOW peanut butter flavor is very close to the real stuff.
Karly says
I hope he loves them! <3