This post may contain affiliate links. Read disclosure policy
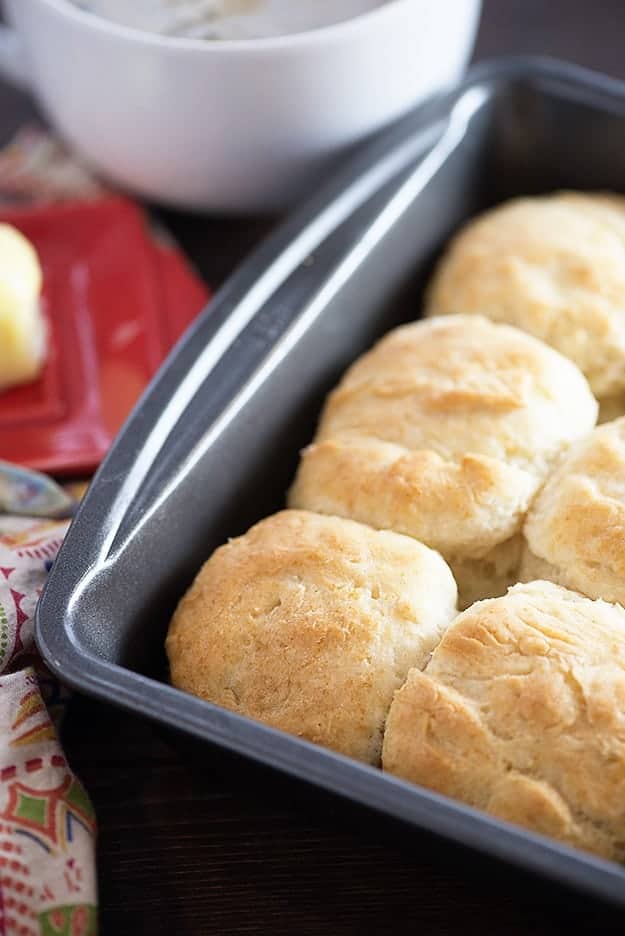
Light, fluffy homemade biscuits, as made by my dad! His biscuits are seriously the best. We’re sharing all of his tips and tricks below. Scroll down to get straight to the recipe or keep reading to find out how to make homemade biscuits!
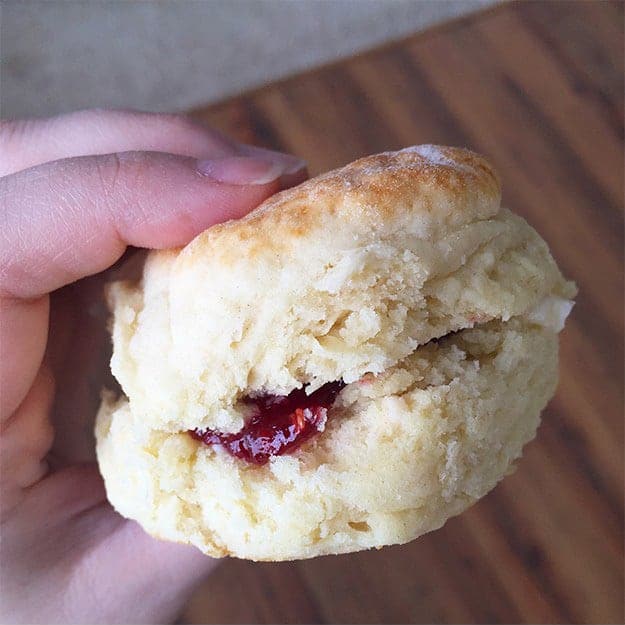
I recently shared a photo of my dad’s famous homemade biscuits on Instagram and you guys ate them up. Figuratively, of course. Literally, I did the eating.
I wanted to be sure that I had his biscuit recipe down pat before I shared with you, so I spent the next few weeks making batch after batch. We ended up making 10 batches of 10 biscuits each. It took me awhile to be sure I had them juuuuuust right.
I also wanted to make sure that I could answer any questions you guys might have and I knew that meant mastering the homemade biscuit.
I spent some time with my dad and he showed me all of his tips and tricks for making the perfect homemade biscuits. And then I came home and I made an unholy amount of biscuits over the course of the next few weeks.
Can confirm I am now a biscuit master.
Will I still make our 7 Up Biscuits? Absolutely – those are easy and delicious. But the truth is that this biscuit recipe from my dad will always have my heart!
Ingredients for Homemade Biscuits:
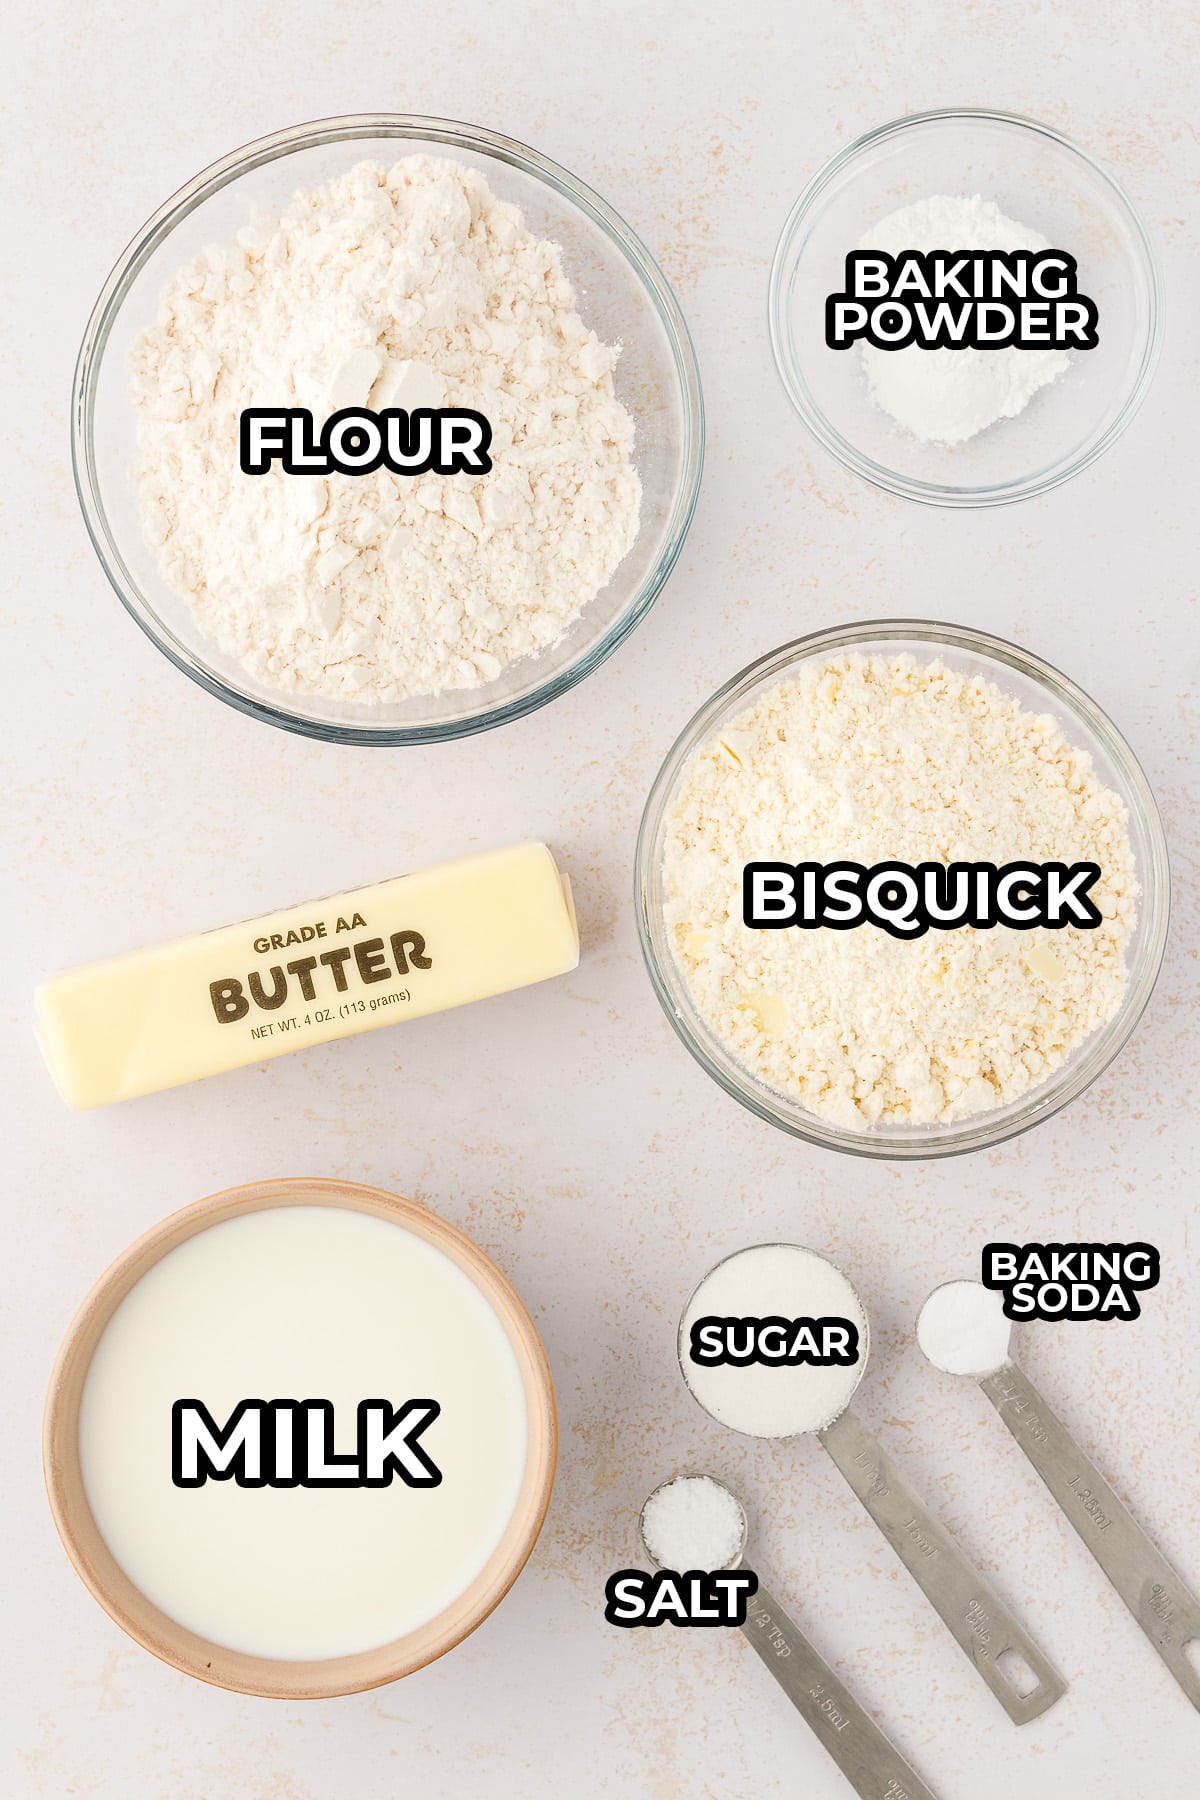
The Flour: You’re going to use a mixture of all-purpose flour and Bisquick biscuit mix. I haven’t tried this with any substitutions and I haven’t tried it with a homemade Bisquick biscuit mix myself, so I can’t tell you how well that will work. If you do try it, please report back so I can update this!
The Butter: We’re using softened butter instead of cold butter. I know, your whole life you’ve heard that you need to use cold butter! Some of you are probably grating frozen butter into your biscuits. This recipe works perfectly with room temperature butter!
The Leavening Agents: There’s a lot of baking powder in this recipe. I was actually pretty surprised by the amount my dad uses. But it doesn’t have a metallic or soapy taste! Baking soda is normally used when there is an acid present – like buttermilk, lemon, or vinegar, There isn’t any in this recipe, but my dad still adds a little baking soda and it just isn’t the same without it!
The Milk: You can use buttermilk if you really feel the need to, but my dad uses regular 2% milk and so do I. I actually prefer the biscuits that way. They get too tangy for me when you use buttermilk.
What Readers are Saying!
“I have never made homemade biscuits before so this was my first attempt. Oh my goodness! They turned out amazingly delicious. Thank you so much for sharing your recipe and tips!!” – Christen
How to Make Homemade Biscuits:
Dry Ingredients: These aren’t your average Bisquick biscuits! That means you’ll be adding some extra ingredients to the mix.
Add the Bisquick biscuit mix, flour, baking powder, sugar, salt, and baking soda to a mixing bowl and stir until well combined.
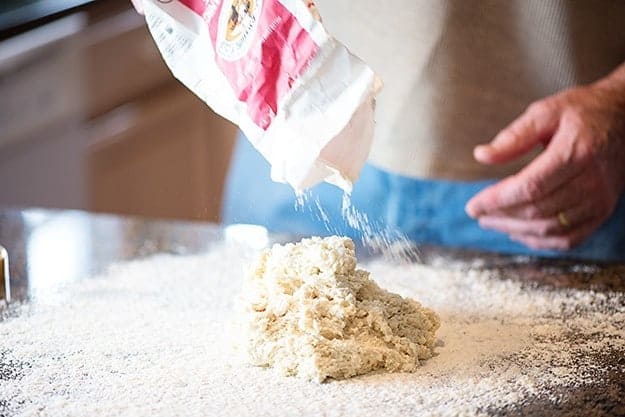
Wet Ingredients: Now you can start adding in the butter. Start with two tablespoons and work it into the flour, then repeat with the remaining butter. Next you can pour in the milk and stir it with a spoon until just combined. To finish fold the dough over on itself three times.
Shape: Pat the dough out into a circle about 3/4 of an inch thick onto a floured surface.
Helpful Tip!
Is the dough too soft to work with?
You may need to add more flour if the mixture is too wet. Just add in a tablespoon at a time until the dough is dry enough to handle.
Helpful Tip!
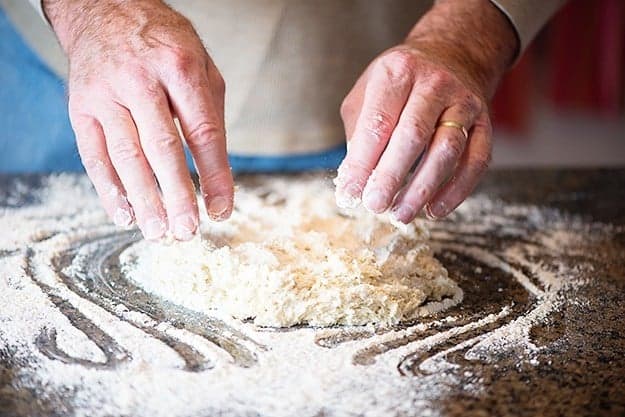
Don’t be shy about re-rolling the dough!
Get in there and re-roll that dough to get extra biscuits. You’ll probably get about 5 biscuits from your initial pat down of the dough. Definitely pat it back out and cut out the remaining biscuits. My dad isn’t at all shy about re-working the dough and you shouldn’t be either.
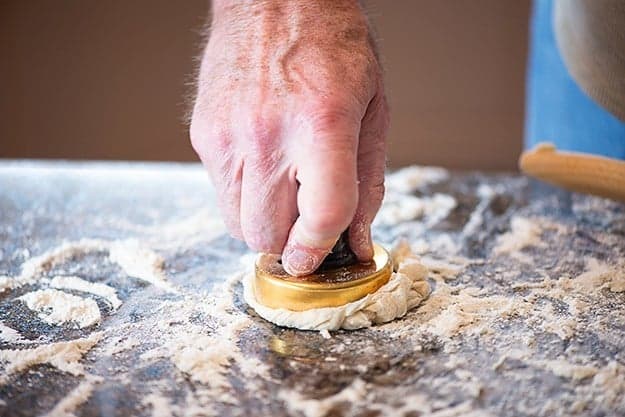
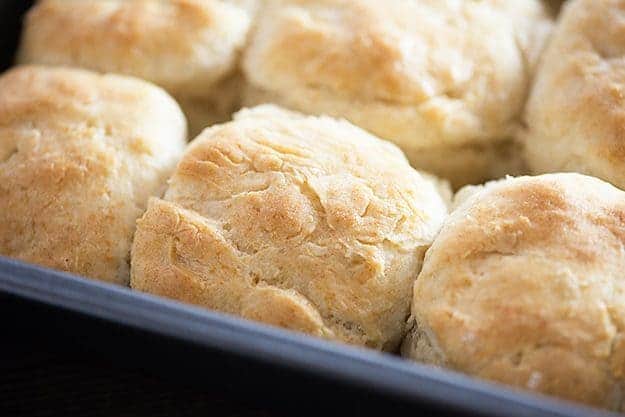
Bake: Place the biscuits on a baking sheet and let them sit for 5 minutes before baking. They’ll take about 10 to 15 minutes in the oven or until the tops begin to turn golden brown!
FAQ:
These brown spots are happening because you’re not mixing the dry ingredients together well enough. I won’t make you sift things (heaven forbid), but do really stir everything together, more than you think you probably need to. At least 30 seconds of non-stop stirring things around with a fork. Trust me. Even if you do end up with brown spots, the biscuits will taste great, they’re just not quite as pretty.
Is your baking powder old? It does eventually stop working well and you may need to replace it. If it’s definitely not that, are you mixing in your butter really super-duper good? Because you need to. I take a spoon and smear the softened butter into the flour against the sides of the bowl. I keep at it long after I’m bored of it, until the entire bowl looks like lightly damp sand. Almost like if you grabbed a handful of it and squeezed it, it *might* stick together.
Add in more flour, a tablespoon at a time, until it’s just workable. The very least amount of flour you can get away with is the best in these biscuits, but don’t be killing yourself trying to roll out dough that is just too sticky. When you touch it, your hand should come away clean. When you pinch it, you should have a bit of dough left on your fingers.
Sounds like you overworked the dough or added too much flour. I had this problem the first few times I made these too. Just use a light hand when mixing and add just enough flour to hold the dough together.
Some days these guys only take ten minutes and other days they take 15. I can’t explain it (Humidity? Magic?), but I’m aware of it. I’m also aware that every oven is different. Some heat evenly, some do not. Some can’t hold a temperature and are fluctuating like crazy. So, get to know your oven and react accordingly. Or just set the timer for 10 minutes and start babysitting them. Pull them when the tops are just lightly golden. Nobody likes a crunchy biscuit, so don’t over bake these guys.
How to serve these biscuits:
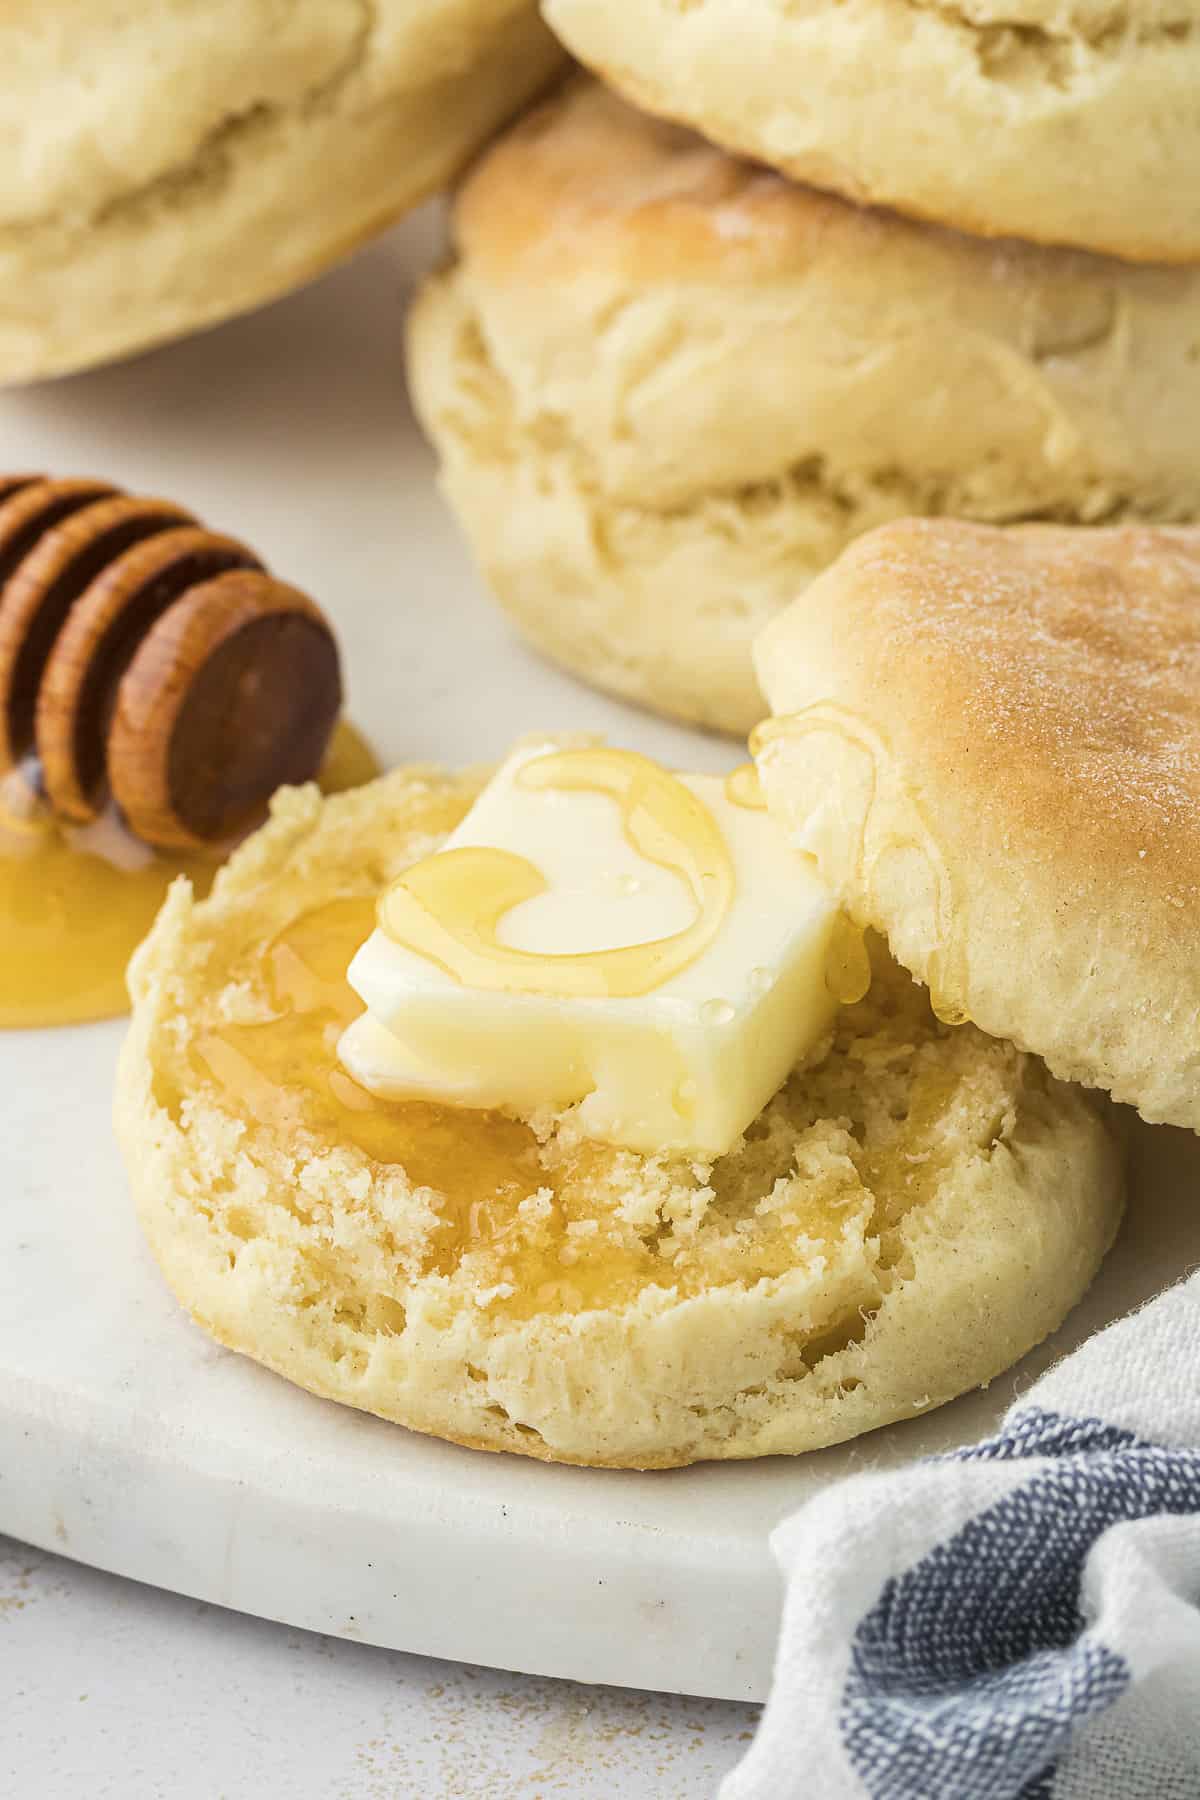
- Cinnamon Honey Butter is the perfect topping!
- Sausage Gravy is a classic.
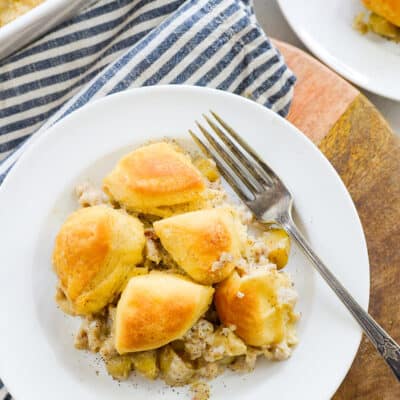
- Use these biscuits in my biscuits and gravy casserole.
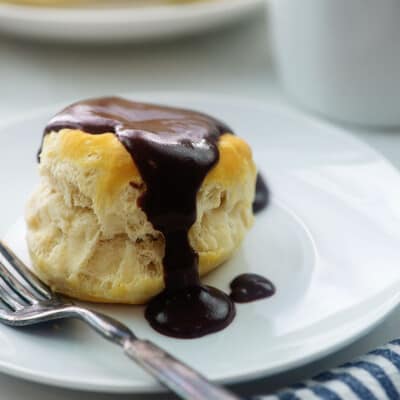
- Chocolate Gravy is a Southern favorite and the kids will love it!
- Of course, butter and jam is always a win.
MORE BREAKFAST RECIPES!
- Fruit Loop Donuts
- Mini Chocolate Chip Muffins
- Keto Oatmeal Breakfast Bowl
- Amish Breakfast Casserole
- Air Fryer Sausage Patties
- Chocolate Glazed Donuts
Easy Homemade Biscuits
Ingredients
- 1 cup flour, plus more as needed
- 1 cup Bisquick
- 4 teaspoons baking powder
- 1 tablespoon sugar
- 1/2 teaspoon salt
- 1/4 teaspoon baking soda
- 4 tablespoons butter, room temperature
- 1 cup milk
Instructions
- Preheat oven to 450 degrees.
- Add the flour, Bisquick, baking powder, sugar, salt, and baking soda to a large mixing bowl. Stir well to combine the dry ingredients thoroughly.
- Add two tablespoons of the butter to the dough and use a spoon to press it into the flour mixture. I find it easiest to smear the butter against the sides of the bowl while working it into the flour. Once the first two tablespoons are completely incorporated, add in the last two tablespoons and repeat the process.
- Pour in the milk and stir with a spoon until just combined. The dough will likely be too wet. Add in more flour, one tablespoon at a time, until the dough is just dry enough to handle. Dough should come away clean from your fingers when you touch it, but stick to your fingers if you pinch it.
- Dump dough onto a well floured work surface. Sprinkle lightly with flour.
- Fold dough over on itself three times.
- Use your hands to pat the dough to 3/4 of an inch high.
- Cut dough out with biscuit cutter and place on baking sheet. Let sit 5 minutes before baking.
- Bake for 10-15 minutes or until tops are just beginning to turn golden. Do not overbake these!
Tips & Notes:
Nutrition Information:

This recipe was originally published in March 2016. It’s been updated with a new video and FAQ section in March 2018.















Travis says
These are amazing! Fresh biscuits in a flash? My new go to recipe!
Isabella says
Can you freeze the dough and then bake another day? If so what temperature for the oven? Same? And same length or different?
Karly says
I haven’t tried freezing these, so I can’t really say.
helen says
They’re in the oven as I type… We don’t have Bisquick here in Australia, but I’m trying out Scone mix as a substitute.
I will also try out Phil’s suggestion to thumbprint the tops to ensure flat rising. It’s worth a try.
Biscuits/scones are looking great. 3 minutes to go…. 2 minutes……1 minute.
And they’re out!
They look great, too hot to eat, but fluffy inside. Yeah. Thanks.
Karly says
Hope you enjoyed!!
Helen says
They were a hit! Baking second batch today. Forgot the thumbprint tip…next time.
Phil says
Biscuits taste good and are easy to make, had to add more flour then the recipe called for. Put a thumb print in the middle of each biscuit to keep them to rise straight up. Good flavor, and will make them again. Good reheated the next day also.
Maggie Martin says
Can’t leave a reply, I’m gone making biscuits AND gravy!
You go girl
Maggie
Luann says
I have a new oven and new cookware, so everything is experimental while I get used to them. This recipe was wonderful and I didn’t have to make an excuse for any boo boo’ s! I did adjust the temp to 425° because my new sheet pans have a dark gray finish and I didn’t want the bottoms to be too brown – or burn! And because I couldn’t find my regular biscuit cutter, I used a jumbo one. I got eight biscuits – exactly – with no waste. I baked them for 8 minutes at first, then while I biscuit sat, another 5 minutes. They were beautiful golden brown, nicely raised ( about double in height), soft and delicious! This is my new biscuit recipe! Thank your Dad for us!
Fran L says
These sound so good! Can’t wait to try them.
My mom made a version of these called “baking powder biscuits”. She’d either use a biscuit cutter, drinking glass, or simply cut them into square shapes with a sharp knife. She used these as the basis for strawberry shortcake, or she’d add grated cheese and leftover ham (cut fairly small). Sometimes, she’d use them as dumplings. Loved every version!
Thanks for posting this!!
Fran
Jo A Wall says
Great recipe. I reduced the sugar by half, and dumped all the butter into the dry mixture all at one time then put on rubber gloves (the kind bought at the drug store, not the heavy gloves) and mix the butter into the dry ingredients until it’s about pea size clumps. Quicker and easier then using the back of a spoon. Had to add several Tablespoons of flour to make dough workable.
Michelle Feraer Vallejos says
This is my go to recipe for biscuit. It never failed me and my husband loves it. I’ve been using this recipe for almost a year now and every time I want a biscuit this is the recipe that I’m using.
Karly says
Yay! So glad to hear this!
Anna Devine says
I have been baking a long time and have been looking for the perfect biscuit recipe. I made these biscuits today and I knew when I turned out the dough that these were going to be delicious. The dough was so light and airy. It was a little bit of a learning process to turn the dough out and cut the biscuits. Next time I will use a little less milk. I brushed with melted butter before baking. This is the only recipe I will use for biscuits from now on. Perfection! Thank you so much for this recipe.
Karly says
So glad you found your biscuit recipe! 🙂
Melissa Chaney says
Let me start by saying that I made the biscuits yesterday. I have been looking for “the” biscuit recipe since I started cooking since I was literally weaned on biscuits. I started cooking a long time ago! We won’t discuss the amount of years. Let’s just say I have grown kids, wrinkles, and gray hair (blonde when I have time to go to the stylist) Being from the south, it shames me to admit that I had not made a good batch of biscuits until now. PEOPLE! When I tell you that these are perfect, they are! Today, I made the sausage gravy. ( been looking to perfect that one too) (sigh)….I decided to take one to my husband at work. (Biscuit and gravy) I hadn’t even made it home before he texted me to say, “that is one of the best things I’ve ever eaten. Both were perfect.” Just so you know, I froze one biscuit before baking just to bake from frozen to answer some of the comments/questions that were asked. I will let you know how it went when I bake it. YOU AND YOUR DAD ARE MY HEROS! Thank you so much for the recipes.
Karly says
Yay!! I’m so glad to hear that you found your biscuit recipe!! And yay for drowning them in sausage gravy! 🙂 Thanks for sharing. <3
Ashley says
Wow! When I was reading the comments everyone had such positive reviews that I was worried I’d be disappointed. Especially because of how easy the recipe was. I’m definitely glad I gave this one a try because the hype is REAL! These are the best homemade biscuits I’ve had. Thanks to you and your dad for sharing your recipe!
Karly says
Yay! So glad you gave them a try, Ashley!
JENNY Bertram says
can these be made ahead of time and kept in fridge?
Karly says
Do you mean before baking? If so, I’m honestly not sure. I’ve never tried it. If you wanted to store them after baking, I’d just keep them tightly wrapped on the counter and reheat briefly in the oven before serving.
Laurel says
Karly, do you bake these on a cookie sheet?
Also, I’ve been looking for a recipe that rivals Pillsbury Frozen Biscuits. This looks like THE ONE. I’ll let you know if the dough freezes well.
One more thing…
I don’t remember where I read it, but if your biscuit cutter isn’t SHARP, your biscuits won’t rise like you want them to.
Laurel says
Found it! This is from Cooks’ Illustrated:
“Crafty home cooks punch out biscuits with old aluminum cans, overturned glasses, and even Mason jar rings. But using a makeshift cutter with rounded edges can compress the sides of dough, leading to misshapen biscuits. We prefer to use biscuit cutters, round cutting tools with sharp edges that make even cuts and thus produce tall, symmetrical biscuits.”
Karly says
Interesting! Thanks for sharing!
Karly says
I’ve baked these on both a baking sheet and in a 9×13. Both work well. 🙂
Karen says
THese were wonderful! Yes, I used a pastry blender to cut the butter in…I also used this as the top for a chicken pot pie…it was perfect! Light, fluffy and tender!!! A real keeper!!!
THANK YOU!!!