- Skip to primary navigation
- Skip to footer navigation
- Skip to secondary navigation
- Skip to recipes navigation
- Skip to main content
Free dinner shortcuts guide
Easy Hassle-Free Recipes

Meet Karly
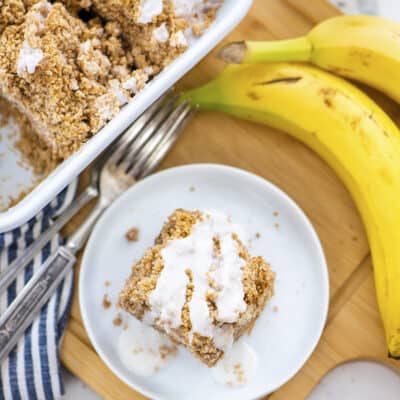
Hi! I’m Karly, and I have buns in my oven! But, not the baby kind. The yeasty kind. What I’m trying to say is, I like to bake.
Free Email Series
The 5 shortcuts I use every week to make dinner easier. Delivered free to your inbox!
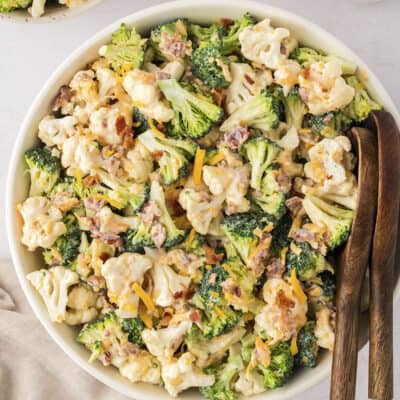
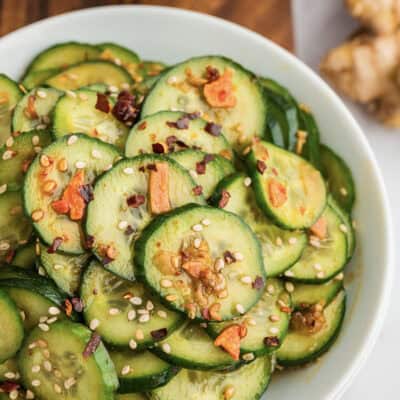
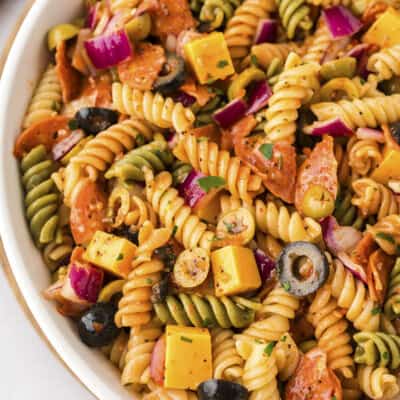
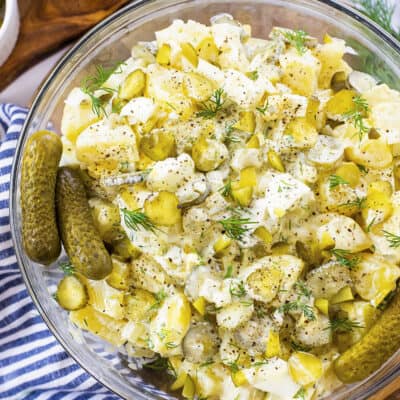
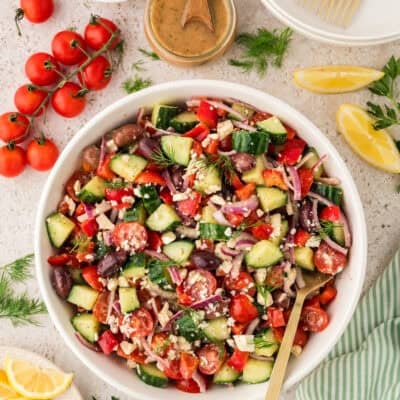
Spring Favorites
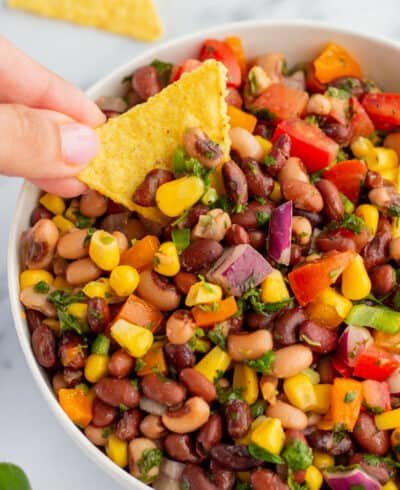
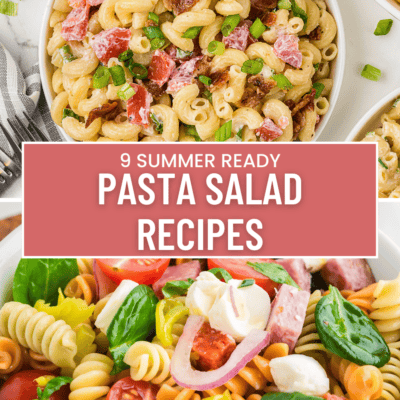
The sun is shining and we're having dinner on the back deck. Make a fresh salad to go with it!
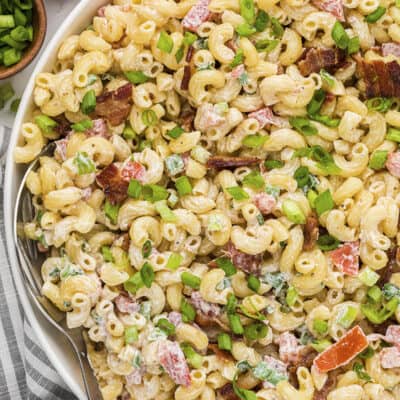
Karly's Favorites
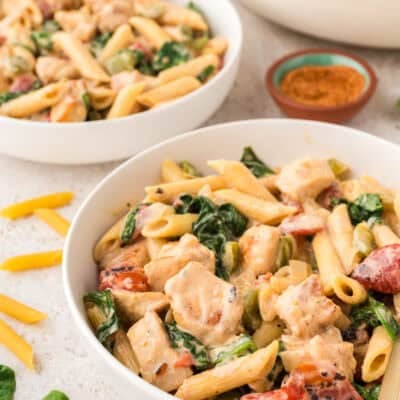
My personal picks! These are the dishes I make on repeat and can't wait for you to try.
I'm on a mission to
Make Dinner Easy
Hey, I'm Karly! A working mom of two picky kids who insist on eating dinner every night (crazy, right?!). I’m here to help fellow parents get EASY, hassle-free dinners on the table. You ready?
Explore Recipes
Follow me on instagram for more daily dinner inspiration & shenanigans
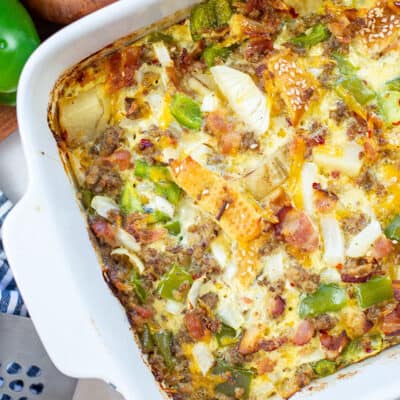


30 Minute Dinners
You’ve got 30 minutes! Make it count with these kid-friendly favs.
Explore Recipes
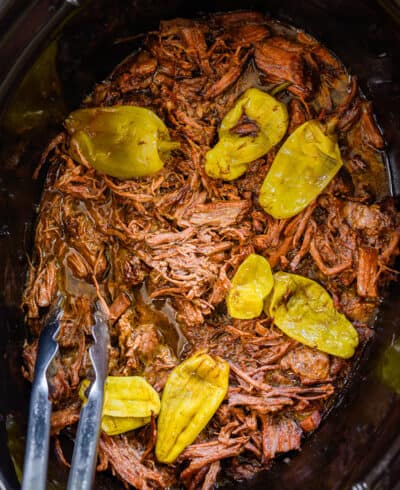
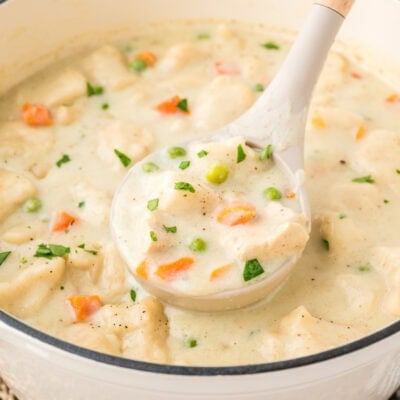
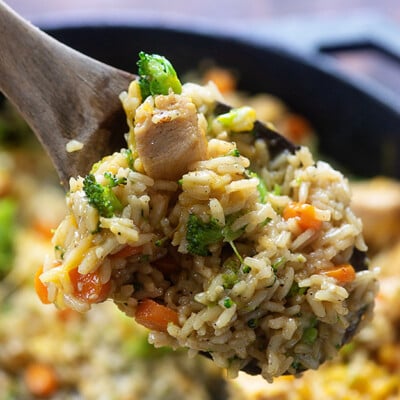
Crockpot Favorites
Baby, it's cold outside! And busy inside. Let's keep dinner simple with these crockpot favorites!
explore recipes
Featured On