- Skip to primary navigation
- Skip to footer navigation
- Skip to secondary navigation
- Skip to recipes navigation
- Skip to main content
Free dinner hacks guide
Easy Hassle-Free Recipes

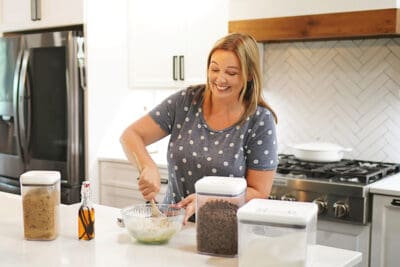
Meet Karly
Hi! I’m Karly, and I have buns in my oven! But, not the baby kind. The yeasty kind. What I’m trying to say is, I like to bake.
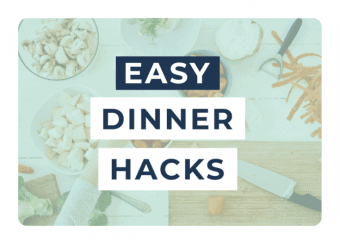
Free Dinner Hacks
Save time, eat better, and enjoy life more with my TOP 5 KITCHEN HACKS! Delivered right to your inbox for FREE!
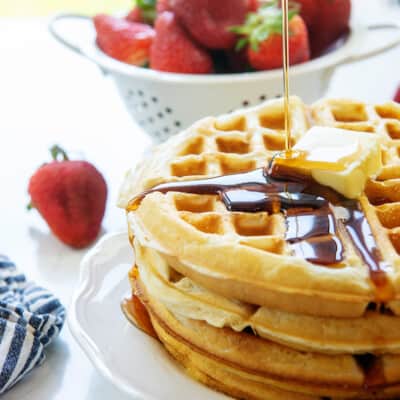
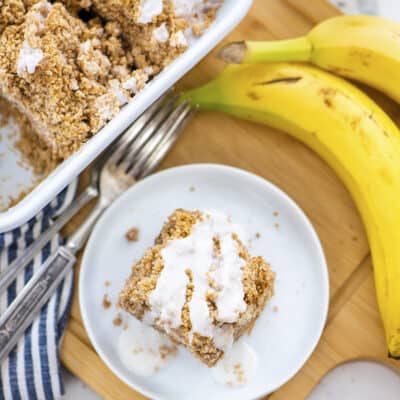
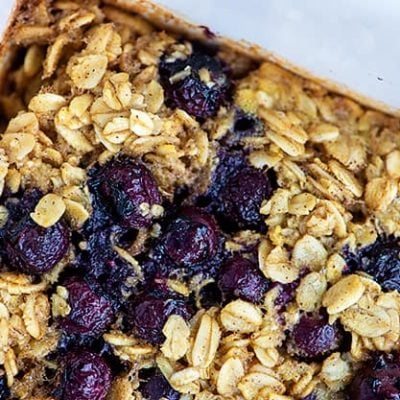
Breakfast Favorites
Start your day off on the right foot with our family friendly breakfast recipes!


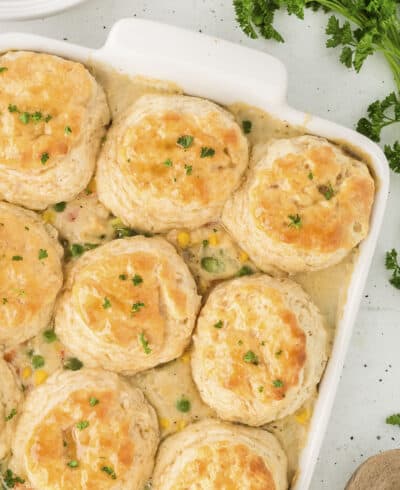
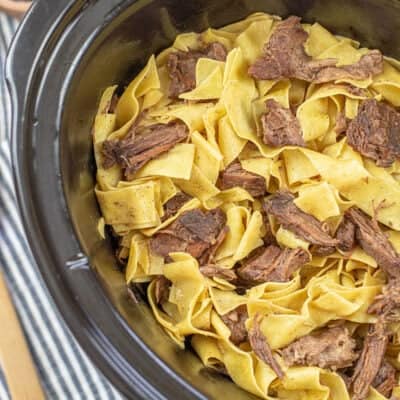
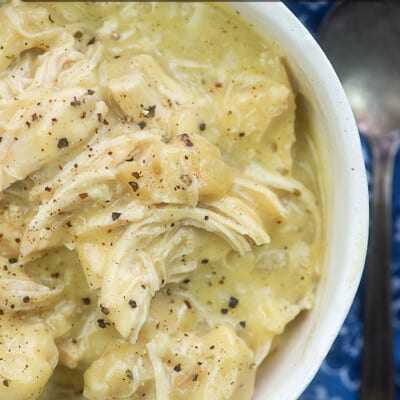
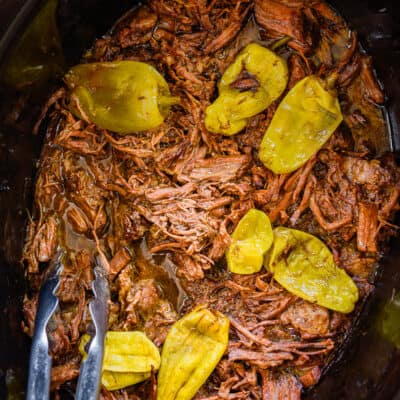
Crockpot Favorites
Keep dinner simple by tossing it all in the slow cooker! These family friendly recipes are always a hit!


I'm on a mission to
Make Dinner Easy
Hey, I'm Karly! A working mom of two picky kids who insist on eating dinner every night (crazy, right?!). I’m here to help fellow parents get EASY, hassle-free dinners on the table. You ready?
Explore Recipes
Follow me on instagram for more daily dinner inspiration & shenanigans
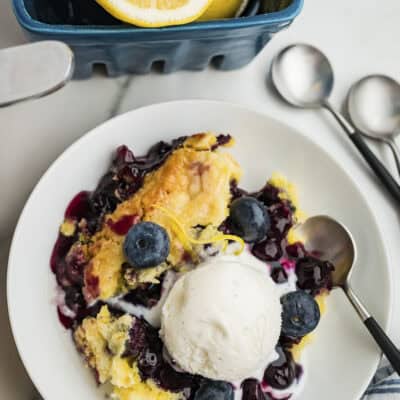


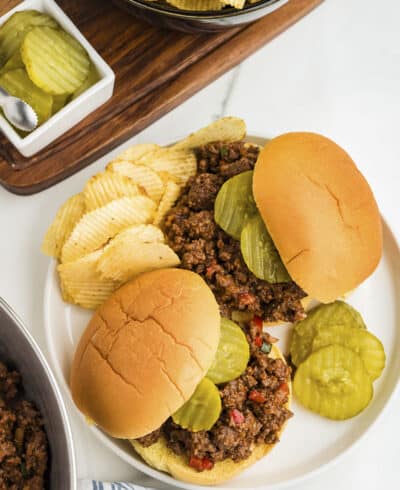
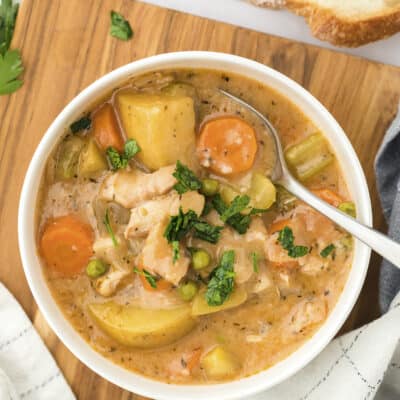
30 Minute Dinners
You’ve got 30 minutes! Make it count with these kid-friendly favs.
Explore Recipes

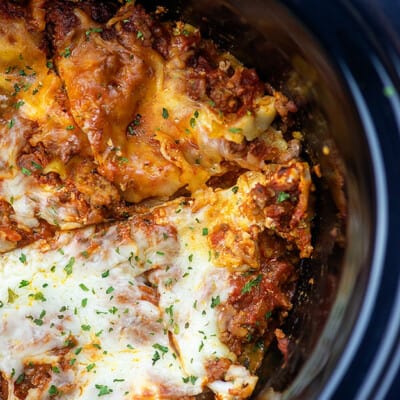
Crockpot Favorites
Baby, it's cold outside! And busy inside. Let's keep dinner simple with these crockpot favorites!
explore recipes
Featured On